on Scroll")

WordPress has built-in sticky post functionality and a conditional tag to match it. Category Sticky…
If you happen to be creating a website, you probably want to make one or more elements on it sticky, and you’re wondering how to do it.
There are lots of ways, such as coding sticky elements manually, paying someone to do it for you, or downloading a simple plugin that will get the job done in just a few seconds. Sounds pretty easy, huh?
With a simple #plugin called Sticky Menu, Sticky Header (or anything!) on Scroll, a.k.a. WP Sticky, you can make any element on your website #sticky.Click to tweet
So, what is WP Sticky?
Made by WebFactory Ltd, WP Sticky is a great plugin that allows you to turn any element on your website into a “sticky” one.
When you make elements “sticky”, you give them the ability to always stay in one visible place while someone is browsing the website.
What are the features of WP Sticky?
Even though WP Sticky does look like a pretty simple plugin, it actually has lots of features, so let’s go over the main ones.
Any element can become sticky
Even though you will probably use WP Sticky just to make your header or navigation menu sticky, you can also use it to make any element on your website that has a name, class, or ID sticky as soon as it reaches the top of a page when you scroll down.
Basically, using this plugin, anytime you want to make anything on your website sticky, you can!
Making multiple elements sticky (pro version)
Users of the plugin’s pro version can make as many elements sticky as they want and configure settings for each element individually.
Positioning from top
If you want to add some space between your element and the top of a page, you are free to do so.
Enable for certain screen sizes only
If you want elements to be sticky only when a user is browsing your website using a phone, for example, you can do so by setting a minimum and/or maximum screen size at which the stickiness will work.
Pick visually (pro version)
Not good at coding? No worries!
WP Sticky will let you select an element you want to make sticky just by picking it off the screen. Pretty easy, huh?
Professional technical support (pro version)
If you happen to get stuck or find yourself in some trouble, don’t worry about having to deal with technical support that has no clue what’s wrong. The technical support team over at WP Sticky is made up of the same people that built the plugin. They know every bit of the plugin’s code.
How do I use WP Sticky?
Using WP Sticky is as simple as just pointing at an element on your website you want to make sticky, so let’s quickly go over that.
1. Install the plugin

After you enter the “Plugins” tab, head over to the “Add New” section and type in “WP Sticky” in the search bar. The plugin should then appear, waiting for you to install it completely free.
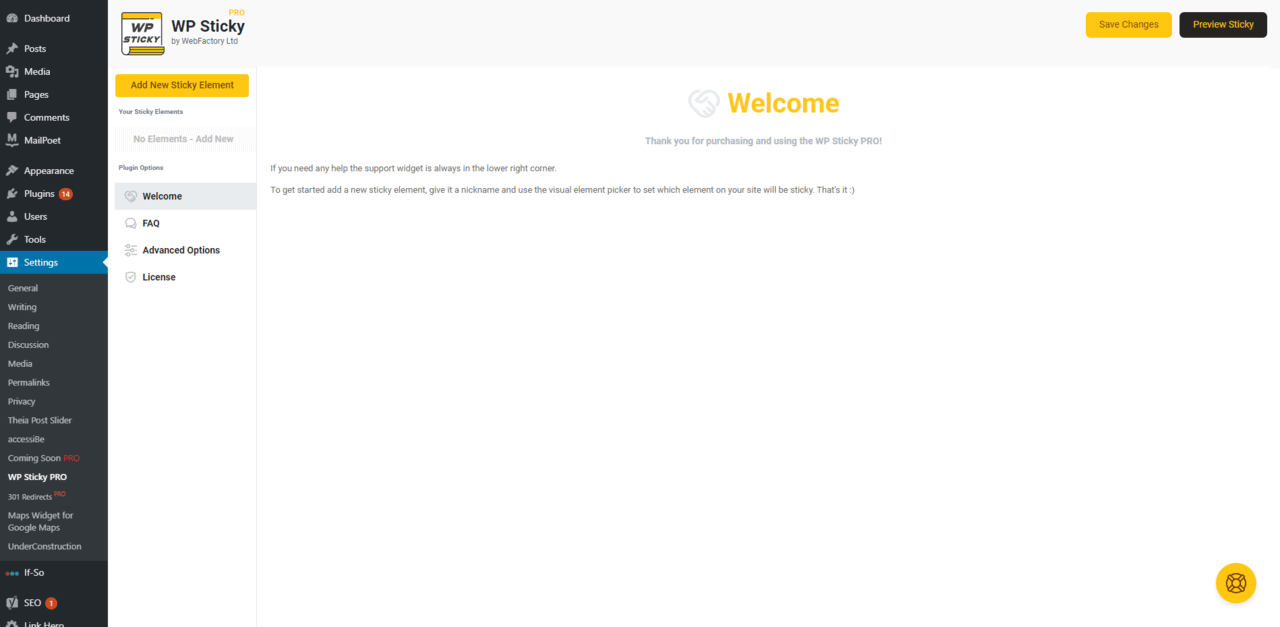
2. Enter WP Sticky’s dashboard
Once you have installed the plugin, you can access its dashboard that has everything you need when working on your website’s sticky elements.
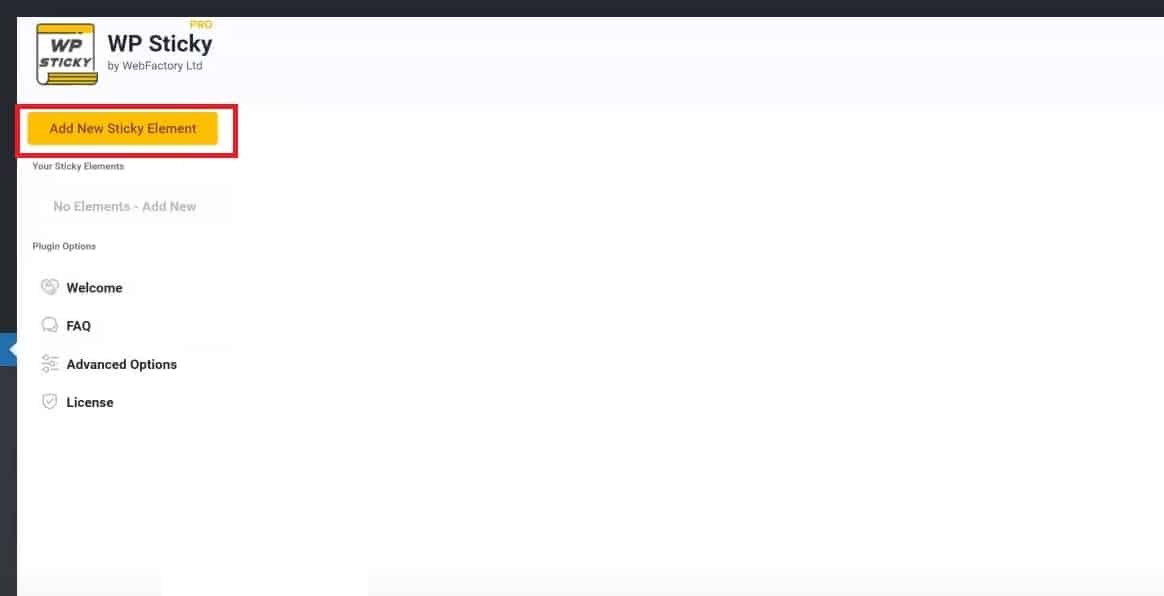
3. Click on “Add New Sticky Element” and begin working on your website
Now that you see the dashboard click the orange button labeled “Add New Sticky Element”.
4. Configure the sticky element’s settings
Basic
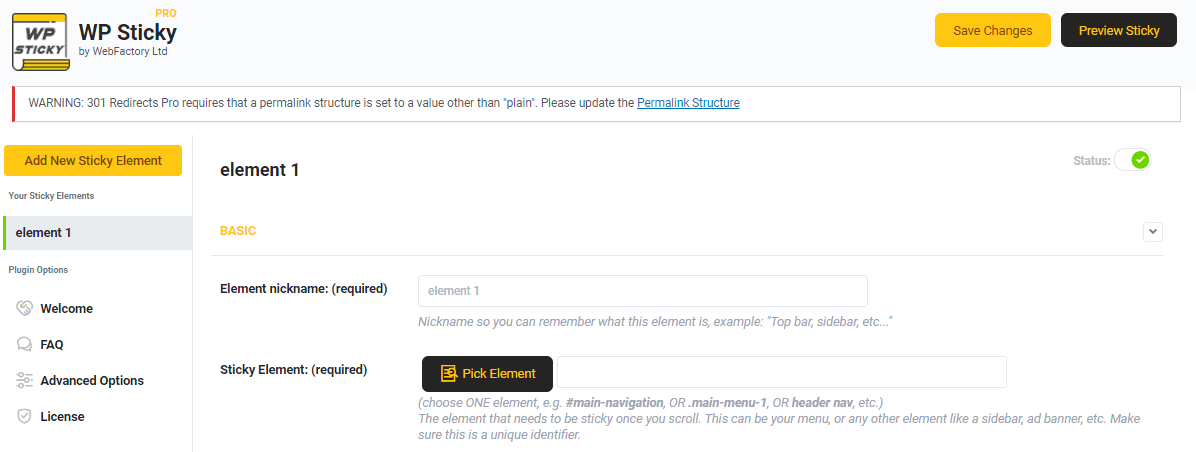
The first thing you have to do is pick a nickname for your element. That’ll be used and displayed when you are in the main menu for easier access.
After you set a nickname for your sticky element, you can proceed to do the most important thing – picking the element that you want to make sticky.
You can do this in two ways, the first one being just clicking the “Pick Element” button. This will allow you to see the main page of your website and then just select the element you want to make sticky.
The second way is a bit harder, and it involves typing in the name of your element – that is, if you know it.
Visual
Now that you have filled in the main info, we can go ahead and customize everything a bit. So, next, move on to the “Visual” section of the settings.
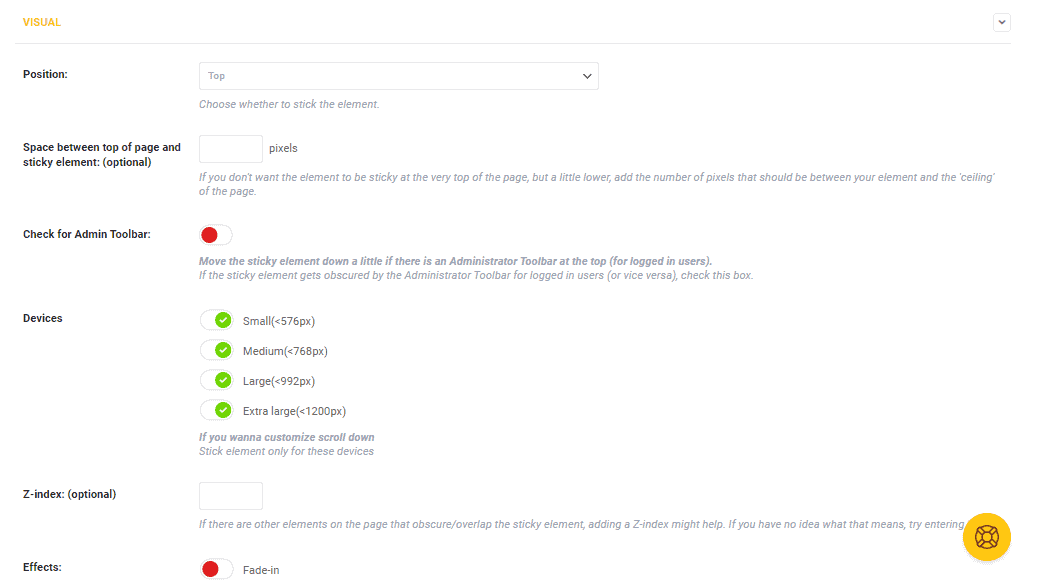
The first thing you have to do is pick a position for your sticky element, in other words, if you want it to stay at the top or the bottom.
Next up is “Space between the top of the page and sticky element”, a setting that we mentioned in the beginning. This is optional, so if you want some free space between your element and the top of the page, feel free to type in how many pixels you want in between.
Up next, we have “Devices”, here you can set on which devices you want WP Sticky to work. You have 4 options, ranging from small to extra-large.
After passing “Devices”, we can see the “Effects” settings, which will allow you to add in some beautiful effects, such as “Fade-In” or “Slide-down”.
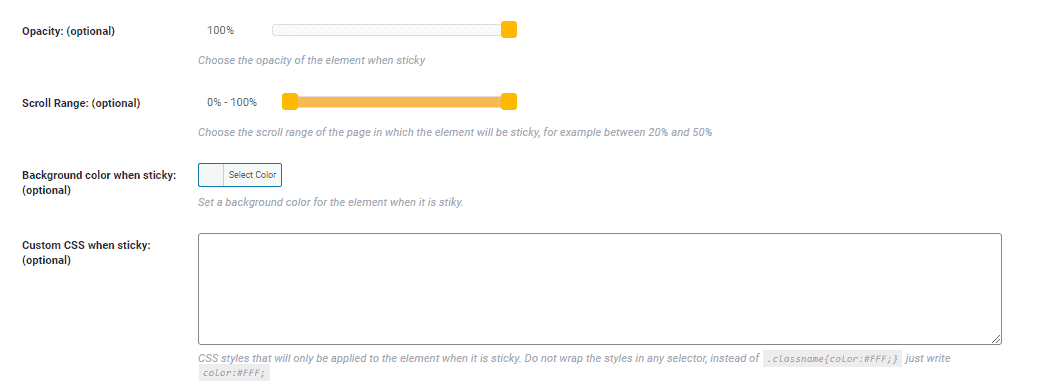
As we are getting closer to the end of the “Visual” section, we got a few settings left, those being: “Opacity” – you can set the opacity of your element from 0% to 100%, “Scroll Range” – you can set a range in which the element will remain sticky, “Background color when sticky” – you can set a background color for your element when it’s sticky, and “Custom CSS” – you can edit the sticky element further, but you’ll need some coding knowledge.
Advanced
Now that you have made your sticky element very good-looking, you can head over to the “Advanced” section of the settings, where you can make some tiny changes, and you’re ready to go!
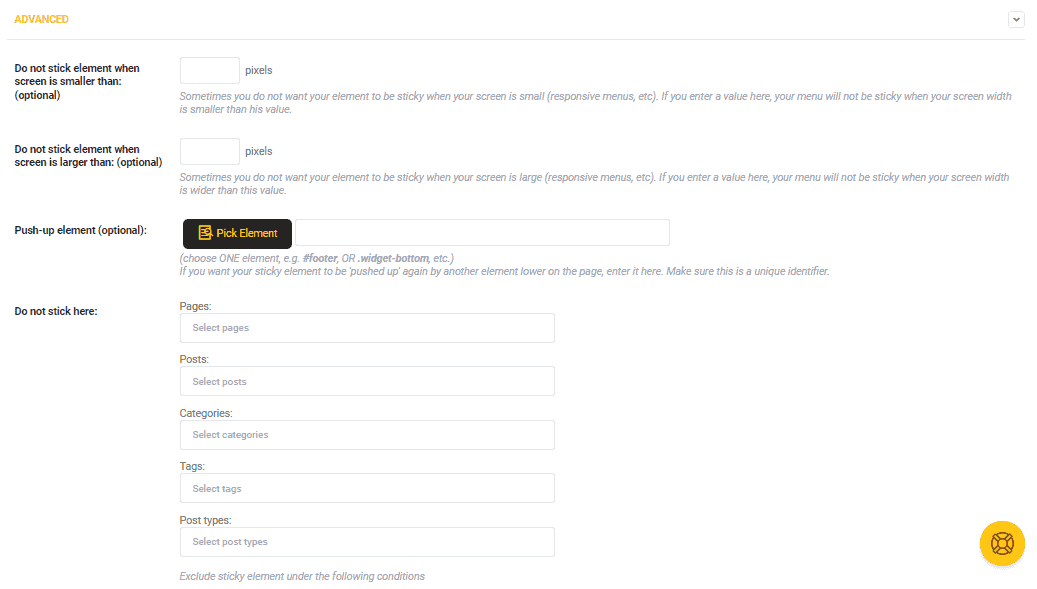
In case you didn’t specify any devices in the “Visual” settings section, you can set a screen size in “Do not stick element when the screen is smaller than”.
If you want your element not to stick when a user’s screen is larger than a specific size, feel free to fill in that as well.
Now, if you have elements on the bottom of your page that might hit your sticky element as a person scrolls down, go ahead and select a “Push-up element” so your sticky element gets pushed up by it.
Lastly, we have “Do not stick here”, a setting that lets you make your element non-sticky in case it belongs to a specific category, page, or tag.
5. Saving the element
After all of this hard work, you’ve your element all finished. Congratulations!
Now, you just preview your element to check how it works with your other website elements and then save the changes you made.
You can do this by clicking “Save Changes” and “Preview Sticky”, located at the top of the plugin’s dashboard.
Need help?
If you got stuck while filling out all the info for your element, you could go to the “FAQ” section of the dashboard.
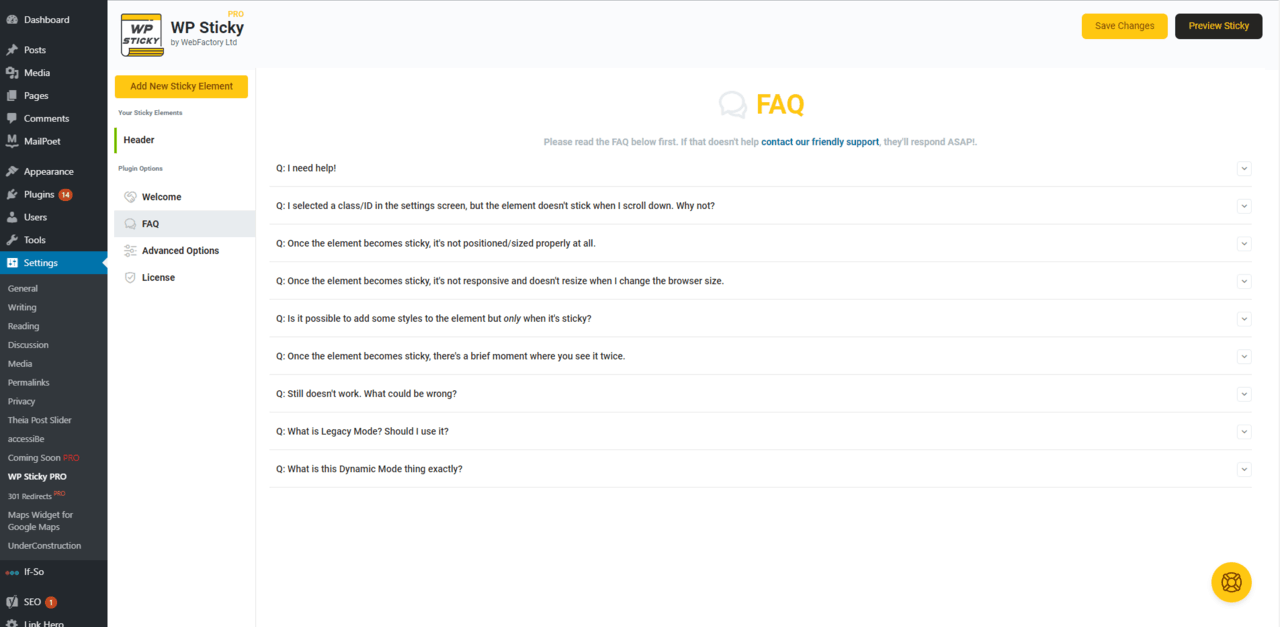
Once you land there, you’ll see a list of frequently asked questions, where you might find answers that will help you.
In case you don’t, feel free to click on the orange button in the bottom right corner, using which you’ll be able to contact support and get an answer in just a few hours.
Please note that support is available only in the pro version. Users of the free version will have to visit the plugin’s support forum on WordPress.org for assistance.
Costs, caveats, etc.
I’ve been using this plugin for a long time now, and there’s really nothing more to say about it. WP Sticky does exactly what it is supposed to do – make elements sticky. And it does it extremely well.
The basic version of this plugin is completely free to use for as long as you want, but in case you need some additional features, you can get its pro version for a one-time fee of $39 – valid for one website.

If you run more than one website, the “Team” or the “Agency” plan is for you, depending on the number of websites you have.
All in all, if you are a power user or just a basic user with no coding knowledge that wants to make elements sticky, this plugin will definitely do the job well, and for a low price too.