Backing up your WordPress website is important and having the added security of storing backups…
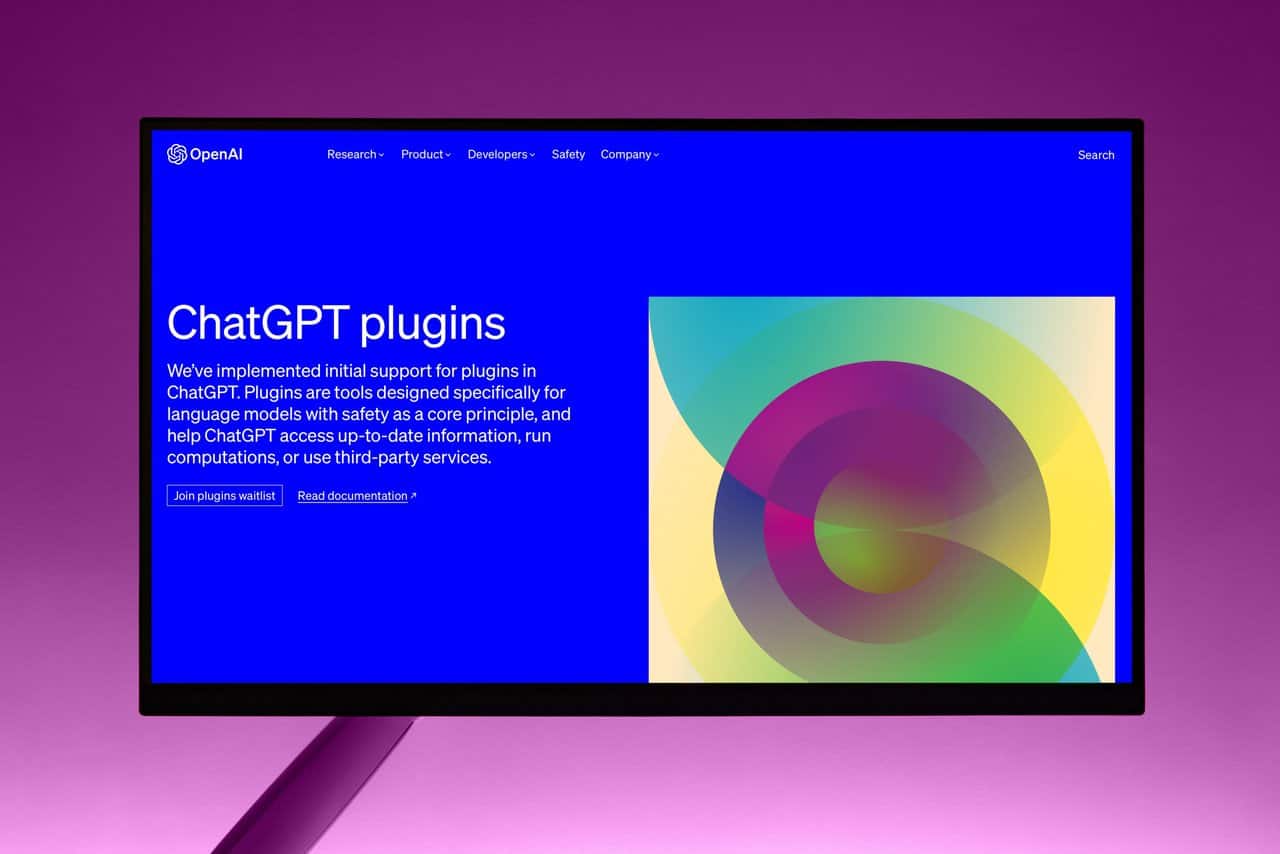
Are you looking for an effective way to engage with your website visitors? Installing a chat plugin on your WordPress site can help you achieve this goal. One such plugin that has gained popularity is ChatGPT.
ChatGPT is a user-friendly chatbot that allows website owners to communicate with their customers and provide instant support. It also enables you to automate some of the most common tasks, freeing up more time for other important aspects of your business. In this article, we’ll guide you through the step-by-step process of installing ChatGPT on your WordPress site so that you can start benefiting from its features right away!
What is ChatGPT plugin?
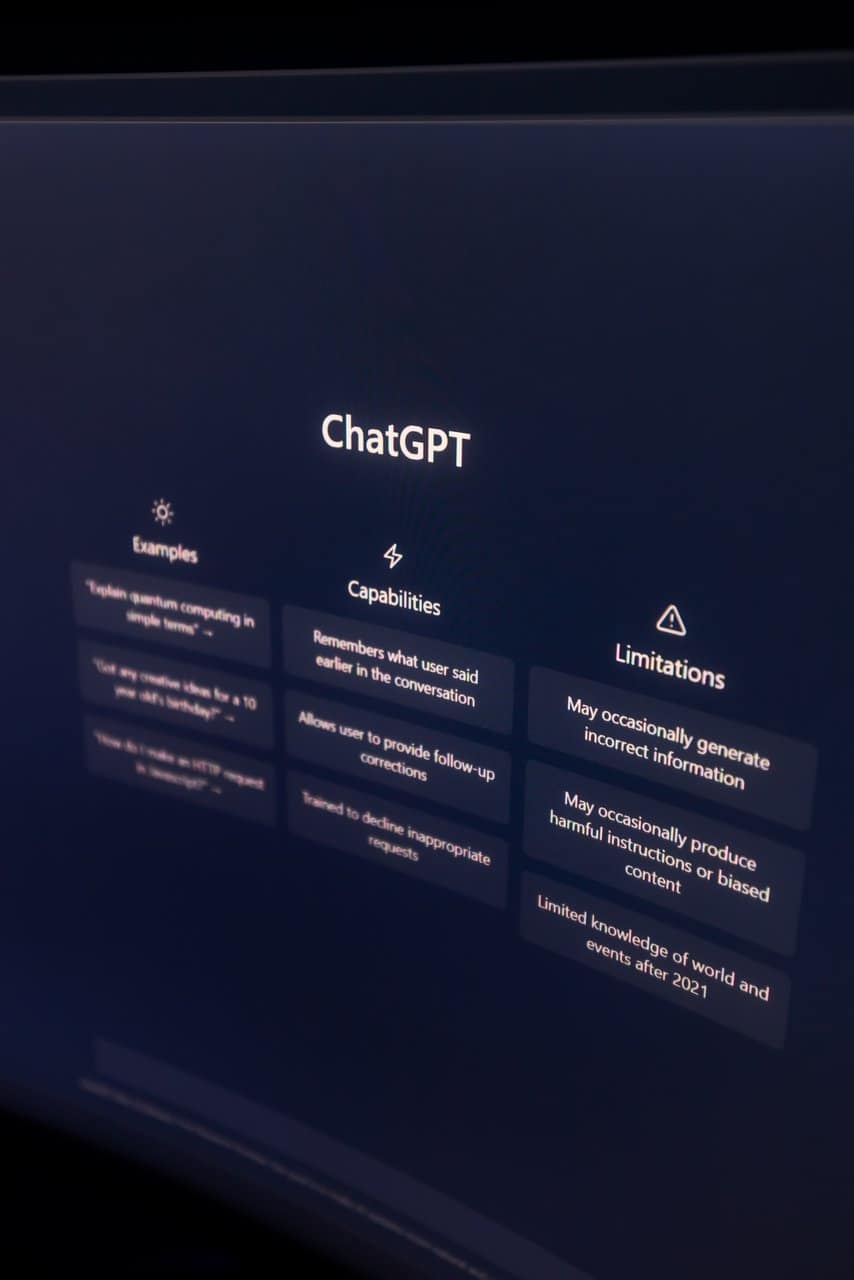
ChatGPT is a unique plugin that allows website owners to add a chatbot to their WordPress sites. This chatbot is designed to help visitors navigate the site, find information and answer questions. The ChatGPT plugin uses artificial intelligence (AI) technology to understand user queries and provide relevant responses in real-time.
Installing ChatGPT on your website is easy with just a few simple steps. First, you need to download the plugin from the WordPress repository or by visiting the official ChatGPT website. Once you have downloaded the zip file, go to your WordPress admin panel and click on ‘Plugins’ > ‘Add New’. From there, upload and activate the ChatGPT plugin.
After activating the plugin, go back to your admin panel and locate ‘ChatGPT Settings’ under ‘Settings’. Here you can customize your chatbot’s appearance, behavior and configure its settings according to your preferences. Once done, save changes and start using ChatGPT on your website!

Step 1: Download ChatGPT Plugin
To install ChatGPT WordPress Plugin on your website, the first step is to download it. This can be done by visiting the official plugin page in the WordPress repository or by searching for it directly in the WordPress dashboard under “Add New Plugins.” Once you’ve found the ChatGPT plugin, click on “Install Now” and wait for it to download.
After downloading, activate the plugin by clicking on “Activate Plugin” and then navigate to its settings page. Here, you’ll need to enter your ChatGPT API key and configure other settings such as chatbot behavior and appearance. Once all settings are configured, save changes and your ChatGPT chatbot should now be live on your website.
It’s important to note that before installing any new plugins on your website, ensure that they are trustworthy and compatible with your current version of WordPress. Also, make sure to regularly update plugins for optimal performance and security.
Step 2: Install the Plugin
Once you have downloaded the ChatGPT WordPress plugin, it’s time to install it on your website. The installation process is straightforward and can be done in a few simple steps. First, log in to your WordPress dashboard and navigate to the plugins section. Click on “Add New,” and then select “Upload Plugin.”
Next, click on the “Choose File” button and select the ChatGPT.zip file that you previously downloaded. Once selected, click on the “Install Now” button. The plugin will now begin installing itself onto your website.
After installation is complete, activate the plugin by clicking on the “Activate Plugin” button that appears next. This will enable you to start using ChatGPT for live chat communication with your visitors.
In summary, installing ChatGPT WordPress plugin is a quick and easy process that requires no technical expertise or knowledge of coding languages such as HTML or CSS. By following these simple steps outlined above, you can have this powerful tool up and running on your website in no time!
Step 3: Activate the Plugin
Once you have successfully installed the ChatGPT WordPress plugin on your website, it is now time to activate it. Activating the plugin is a straightforward process that does not require any specialized knowledge or experience. To activate the plugin, navigate to your WordPress dashboard and click on Plugins in the left-hand menu.
Next, locate the ChatGPT plugin and click on Activate. Once activated, you can access the plugin’s settings by clicking on Settings > ChatGPT in your WordPress dashboard. Here, you can customize various aspects of the chatbot, including its appearance and behavior.
It is important to note that activating the ChatGPT WordPress plugin does not automatically make it visible on your website. To add it to your site, you will need to place a shortcode where you want the chatbot to appear. You can generate this shortcode from within the settings page or copy-paste it directly from here: [chatgpt]. With these simple steps completed, you are ready to start using ChatGPT on your website and engaging with visitors in real-time!
Step 4: Configure the Settings
Once you have successfully installed the ChatGPT WordPress Plugin on your website, the next step is to configure its settings. This is a crucial step that helps ensure that your chatbot runs smoothly and meets your specific needs.
The first setting you need to configure is the appearance of the chatbot. You can choose from a variety of options such as color, size, and position. Additionally, you can customize the message that appears when users initiate a conversation with your chatbot.
Another important setting to configure is the default language of your chatbot. If your website caters to an international audience, it’s essential to offer multilingual support for an excellent user experience.
Lastly, you should specify which pages on your website will have access to ChatGPT’s services. You can select all pages or only specific ones where you want the chatbot to appear. By configuring these settings correctly, you’ll be able to provide seamless customer support 24/7 without any hiccups along the way.
Step 5: Add ChatGPT Widget to Your Website
Installing a chat widget on your website is a great way to improve engagement with your visitors. ChatGPT is an excellent option for WordPress websites, as it offers a user-friendly interface and numerous customization options.
To add ChatGPT to your website, first, install the plugin from the WordPress repository. Once you have installed the plugin, log in to your ChatGPT account and copy the unique widget code provided. Go back to your WordPress dashboard and navigate to Appearance > Widgets. Drag the ChatGPT widget into your desired location on the page.
You can customize various aspects of the widget’s appearance, such as color scheme and language. You can also set up automated replies for common questions or set specific times when live chat will be available. By adding ChatGPT to your website, you can create a more interactive experience for visitors and improve communication with potential clients or customers.
Conclusion: Enjoy Chatting with Your Visitors
In conclusion, ChatGPT WordPress plugin is an excellent tool for website owners who want to improve their communication with visitors. By installing this plugin, you can open up a new channel of communication with your audience and get valuable feedback that can help you improve your website.
Enjoying chatting with your visitors is not only beneficial for your business, but it also shows that you care about your audience’s needs and are willing to go the extra mile to meet them. With ChatGPT WordPress plugin, you can easily answer questions, provide support, and build strong relationships with your visitors in real-time.
Remember that interacting with visitors through chat is not only about providing solutions but also building trust. Take advantage of the opportunity to dive deeper into what they need and how you can deliver better experiences while enjoying a more personalized interaction.