We live in a Responsive Design world now. If you are working on a WordPress…
There are tons of sliders to choose from for WordPress. Here at Tidy Repo though, our job is to cut through all of that, and just give you the best ones. So let me tell you about Soliloquy.
The Basics
Soliloquy is a fully responsive slider that can be easily embedded into your posts and pages. It is incredibly flexible and customizable but has plenty of smart defaults if you want to get up and running with your slideshow quickly.
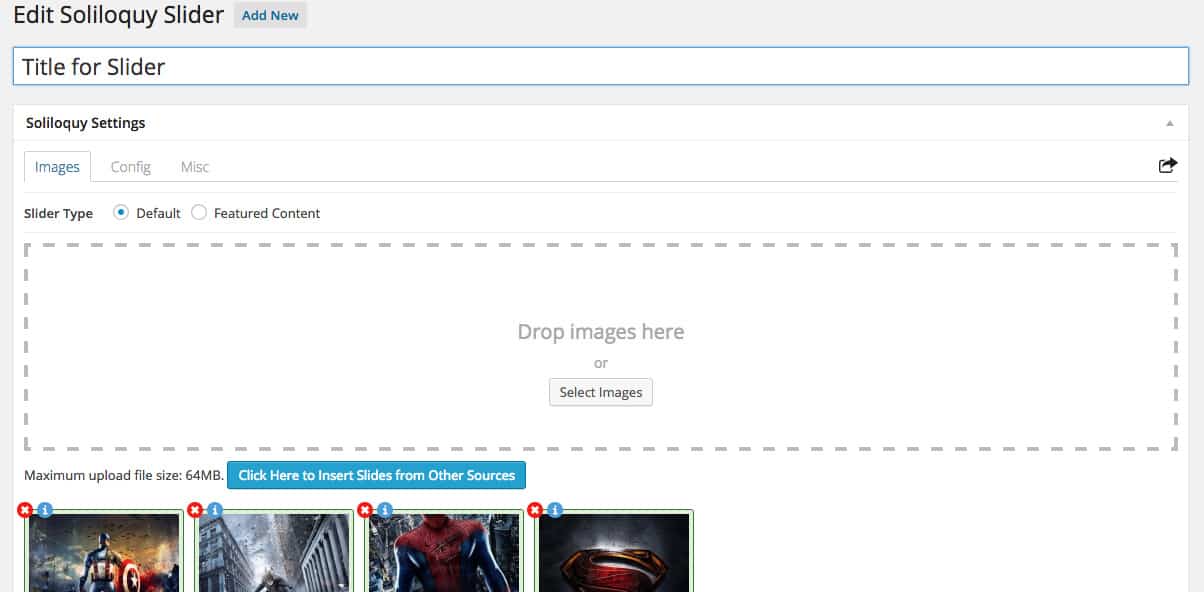
The plugin works by allowing you to create as many sliders as you want in a separate section of the WordPress admin. Simply select Soliloquy -> Add New to get started with your first slider. Give it a title at the top of the page, and then either upload files using the file browser or simply select a group of images from the WordPress media library and add them to your slideshow.

Setting up your first slider
When you click the “Publish” button, you’ll be given a few different ways to add this slideshow to your site. (Protip: Click the share arrow in the top right corner to bring this info up at any time). Just copy and paste the shortcode into your post or page, or copy the template tag right into your theme’s template files, and you’re all set.
You’ll notice that everything is set up very well. Soliloquy is built to be lightweight, so it loads pretty quickly and works in just about every theme. It’s built to expand to the width of a container by default, so as your responsive site scales, so will your slider. And yes, touch-swipe is supported on mobile devices.

Most basic of sliders
Configuring Soliloquy
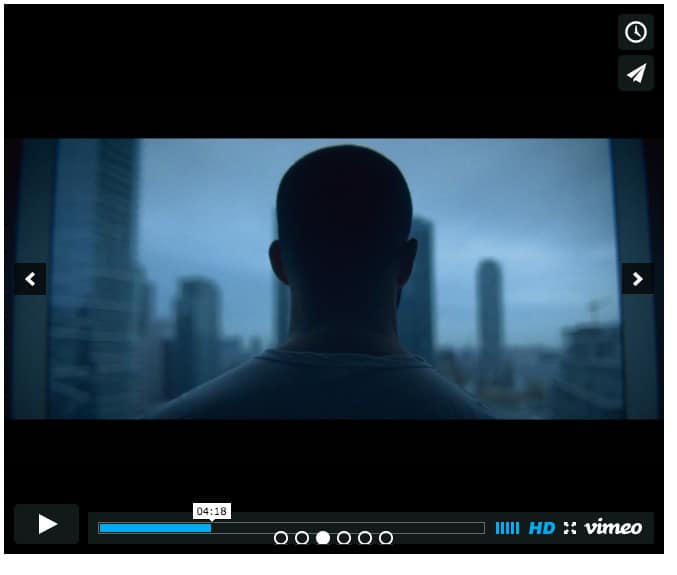
But there’s a bit more than you can do. When you click the “Click Here to Insert Slides” you will see a tab at the top that allows you to select “Video Slides” or “HTML Slides”. Using these tabs, you can embed videos directly from YouTube, Vimeo or Wistia. Or you can add any block of HTML that you want. And if you have the “Featured Content” add-on enabled, then you can also create a slideshow of posts, pulling automatically from categories, tags, or any other parameters you want to set.

A video slide in action
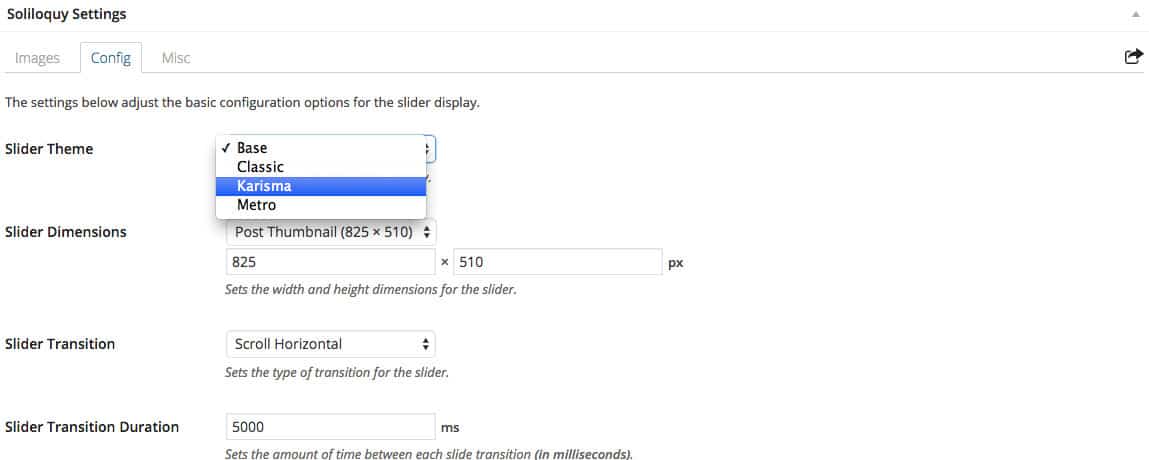
Clicking the “Config” link on any slider will bring you to a full list of options for customizing your slider. Chose a theme for the slider (with a couple of extra themes bundled in an add-on), set the dimensions of your images (which, remember, will be responsive), and choose the exact parameters of your transition (scroll, fade, etc.). There are about two dozens of options in total, ranging from whether or not transitions should autostart, to image sizes on mobile, to whether or not to use CSS transitions. I would go through them all here, but there are a lot of them. Instead, I’d recommend checking out the documentation, which goes through all of these options for you, and most of them are self-explanatory.

Basic configuration
The last tab for your slider is the “Misc” tab. This has a few more options if you want a bit more control over the look and feel of your slider. You can start by giving the slider a title and slug, which is how you will refer to it in your shortcode. Below that, you can add custom CSS classes if you want to add a bit of styling yourself. But if you want to fully style your slider with CSS, make sure you have the CSS add-on, and then scroll down to the bottom to the “Custom Slider CSS” textbox. Here, you will see instructions for customizing your slider, which will give you the HTML ID of the slider’s container, allowing you to add as much CSS as you need. Each of your sliders has it’s own custom CSS, so you can easily customize the look and feel of each one individually.

Adding in Custom CSS
So, right out of the box, you can make Soliloquy do just about anything you want, in slider form, by just setting a few options.
Adding Add-ons
Rather then subjecting their plugin to feature bloat, the Soliloquy team has rolled out edge use-cases into downloadable add-ons, and approach I’ve seen a lot of developers take. These can be added by going to Soliloquy -> Settings and clicking on the “Add-ons” tab. Depending on your license type, you will have access to different extensions. There are a lot to choose from, and they’re not all for everybody, but there may be one or two you want to add. I already talked a bit about the CSS and Featured Content add-on, but there are also a bunch more to chose from.

Pulling photos straight from Instagram
The Instagram add-on for instance, allows you to pull Instagram photos straight into your sliders. The Pinterest slider, on the other hand, adds a “Pin It” social link to the top of each slide, encouraging users to share what they see. You can use the “Themes” add-on to get a couple of more bundled themes to chose from, or the “Lightbox” add-on to allow images to open in a lightbox. Or use the “Carousel” or “Thumbnails” add-ons to add a bit more dynamism and style to the look and feel of your sliders. Each one is easy enough to set up, and will fit right in with the sliders you have already created.
Fitting Soliloquy Into Your Workflow
Sliders are everywhere. And when used responsibly, they can really add some class to your site, and showcase some great content. Soliloquy happens to be a first-class slider plugin, that is performant and well-maintained. It has a lot of features and flexibility, and it may be too robust for you. But chances are, if you need any kind of slider or slideshow or carousel on your site, this plugin can fit the bill somehow.
Soliloquy has different licenses, ranging from $19 to a $249 unlimited site license. Each step up has more add-ons bundled with it, and can be used on more sites, but priority support is included with every single one. If these seems like the kind of thing that interests you, you should take a look. And you can use the coupon code “tidyrepo” at checkout for 20% off if it seems like a good fit.


