One of the more annoying pain points of WordPress development is keeping local, staging and…
If you haven’t heard of MailChimp, you probably never listened to the Serial Podcast. If that’s the case, it’s an awesome email marketing platform that allows you to collect contacts, send and design emails, and get full reports on how they did. It’s what we use here at Tidy Repo. And if you want to integrate MailChimp into your WordPress site, there’s no plugin I’d recommend more than MailChimp for WordPress.
Integrating with MailChimp
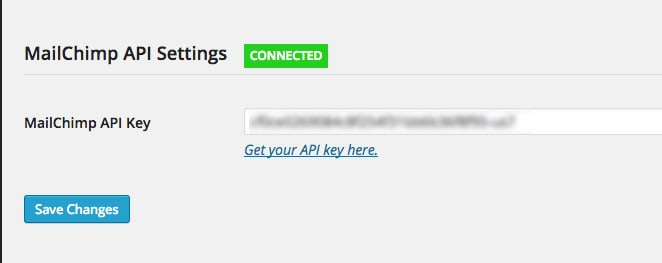
MailChimp for WordPress has a free and a pro version, both work the same way, but the latter has a few more features, which I’ll touch on throughout this post. But hey, if you’re looking to give the Pro version a try, make sure to click here to get 25% off. But back to the plugin. Once you install and activate it, you’ll need to actually connect the plugin to your MailChimp account. Click on the MailChimp for WP -> MailChimp link in the admin panel, and you will see a text field for you to enter your API key. If you click the “Get your API Key here” link, it will take you to the MailChimp dashboard, where you will see the key you need. Just copy and paste that into the text field, and you’re done. The plugin will automatically import your lists into WordPress so you can start adding subscription forms anywhere on your site.
Adding your license key
Setting Up Your First Form
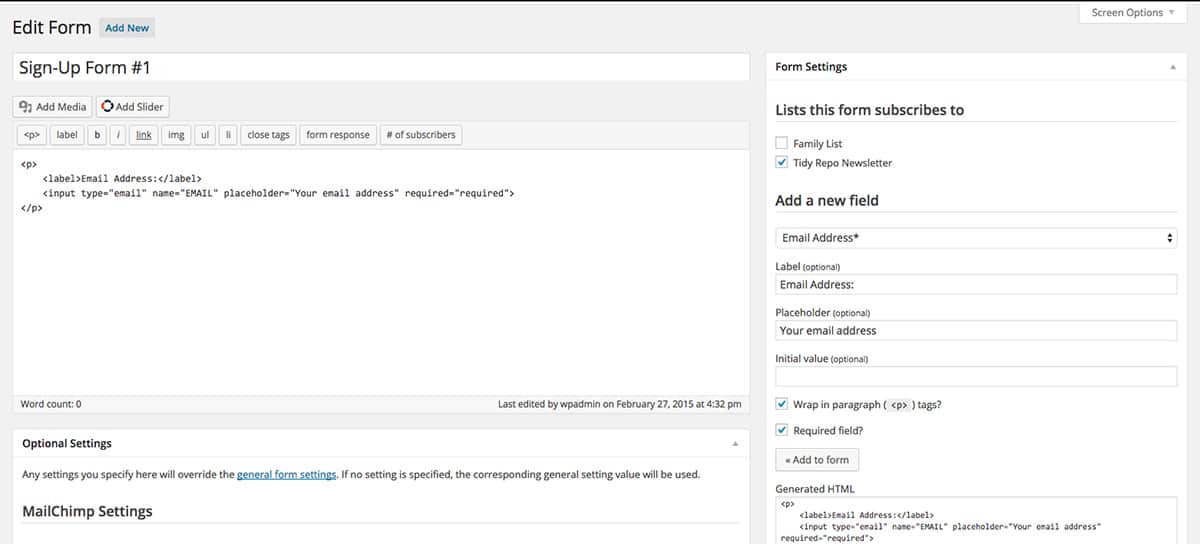
There are two ways to prompt your users or readers to subscribe. The first is with a basic form. To get started with that, go to MailChimp for WP -> Forms. If you are using the free version of the plugin, there will only be one form available to you. In the pro version, you’ll have the opportunity to create multiple versions. The plugin will set you up with a basic form, but you can customize it however you want. Click the “Edit Form” button to start customizing it. For your form, make sure to chose a list that you want subscribers to be attached to, the plugin will show any list that is set up on MailChimp.
Customizing your sign-up form (Pro Version)
To start actually customizing your form, you can either edit your markup directly, or use the “Add a field” drop-down to automatically populate the form with fields from your list. For instance, you can select “First Name” if that is collected in your list, and this will display the proper input tag required to collect this information from your users. Just click the “Add to Form” button to actually add this field. Then rearrange however you want. There are also several form variables, listed in the right sidebar, which you can use to auto-populate your form. For instance, using {email} within the markup will pull an email from a logged in user, and add this information to the form automatically. For each form, there are also a list of settings for you to customize. You can enable AJAX submission (pro feature), so that the form is submitted to MailChimp without a page refresh. Or you can make sure that double opt-in is enabled, meaning that users will receive an email to confirm before they are officially subscribed. You can also hide the form after it is submitted, and send yourself a copy of the data filled out every time a form is submitted.
Customizing messages
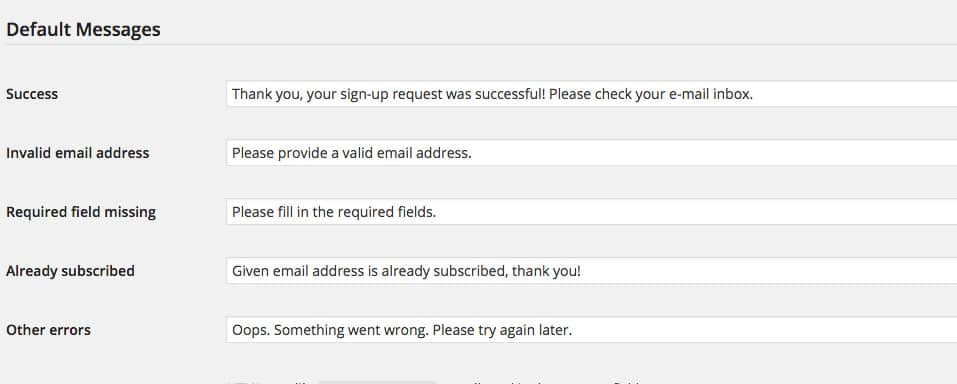
At the bottom of the form settings, you will see the “Messages” section. Here, you can customize what text a user will see when the form returns an error, or a user is successfully subscribed. HTML tags like strong and em are allowed here if you’d like to take advantage of that. Once you’re all done, just click the “Update Form” button. On the main form settings page, there are also a few more settings, notably whether or not you want to add CSS styles (or just use your own), and what the base color should be. In the pro version, you will also be able to set global defaults for all of the options that I went over.
Adding Your Form
There are a couple of ways to actually add your form, and start converting users to email subscribers. The first is with a shortcode, shown next to each form, which can be added to any post or page. It will look a bit like this:
[mc4wp_form id="111"]
The other way is with a template tag, which you can add to any file in your theme. To do so requires a simple function:
if( function_exists( 'mc4wp_form' ) ) {
    mc4wp_form( 0 );
}
Making sure to replace the “0” with the actual ID of your form (or leaving it blank in the free version). And that’s about it. A fully integrated form on your site’s front-end.
Taking Advantage of Checkboxes
The other way to collect subscribers is to simply add a “Subscribe to my newsletter” type checkbox to the bottom of forms where you are already collecting user’s emails. MailChimp for WordPress lets you do this with the click of a few buttons. First, go to MailChimp for WP -> Checkboxes and select the list from MailChimp you want to add users to. Chose whether or not you want users to double opt-in, or automatically update, then go to the “Checkbox Settings” section.
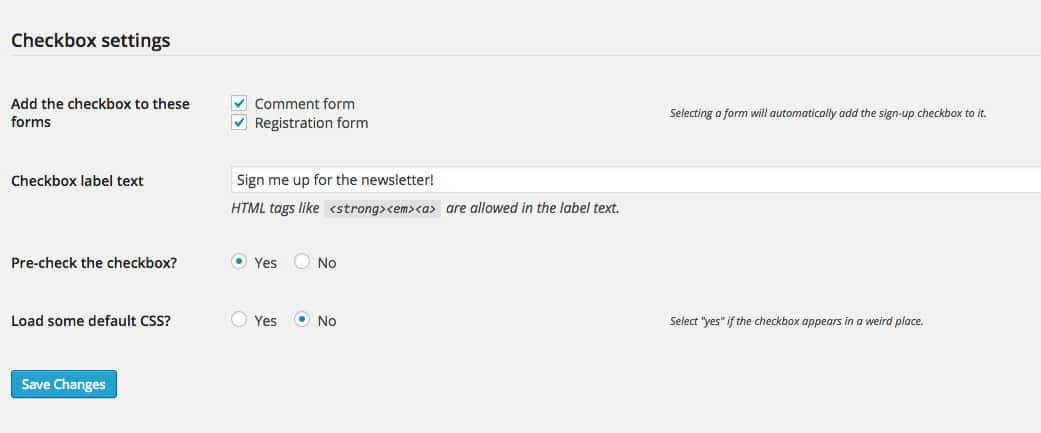
Quick and easy checkboxes
Here, you can select where you want to add this checkbox, either your “Comment Form” or “Registration Form”. In both cases, you can customize what the label text should be (“Sign me up for the newsletter!” by default), and click the Save button. This will add a handy little checkbox that, when checked off, will automatically subscribe logged in or new users to the list you picked. It’s a great way to get conversions from your most active existing users.
Getting MailChimp Up and Running
If you’re looking to send beautiful email to your users, MailChimp is a great choice. And to add it to your site, use MailChimp for WP. There are a few features I didn’t go over, such as advanced reporting on subscribers, and a CSS builder which allows you to customize every aspect of your form’s style. Their features worth checking out.
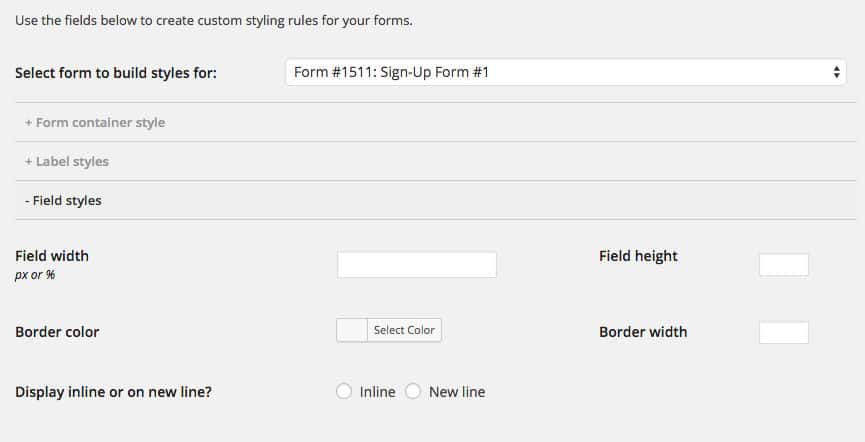
The CSS style builder in action
The pro version of MailChimp for WP has a few different licenses for a single site or multiple sites. The cost is reasonable, considering you get AJAX form submission, multiple forms, checkbox integration with WooCommerce and Easy Digital Downloads, and full reporting/statistics. And make sure to click through here to get 25% off of your purchase of any license. Thanks to Danny van Kooten for setting that up. Be sure to let me know if you have any questions or are unsure about something below.

