As nice it is to proudly pronounce WordPress authorship of your site, you may not…
In the past, I’ve reviewed Slash Admin and Uber Login Logo, which can help you customize the look of your login screen by allowing you to upload a custom logo. But if you’d like complete control over your login screen, with custom colors and images, Custom Login is the way to go.
What’s It Do?
Custom Login allows you to customize every aspect of the WordPress login screen. You can upload a custom logo or background image. You can customize the colors of text, backgrounds and form elements. And you can even add your own HTML, CSS or Javascript to the page for extended functionality. Each element is broken out into a separate Settings field, so you have complete control over how everything looks. And color fields feature color pickers so you can hone in on the right one.
How’s It Work?
After you install and activate the plugin, go to Settings -> Custom Login to start customizing your login screen.
The first checkbox you will see is “Activate,” which you need to check in order for the login page changes to take effect. However, it is probably best to finish all of your customizations before switching it on.
From there, the plugin breaks customizations down into four categories, “HTML,” “Logo,” “Login Form,” and “Misc.”. The HTML section allows you to customize the background of the page itself. You can choose a background color using the provided color picker, or upload a custom background image using the WordPress media uploader. If you choose to upload an image, you can also select a position, repeat attribute, and size. These background properties will be applied to the tag of the login screen, and take effect on the entire page.
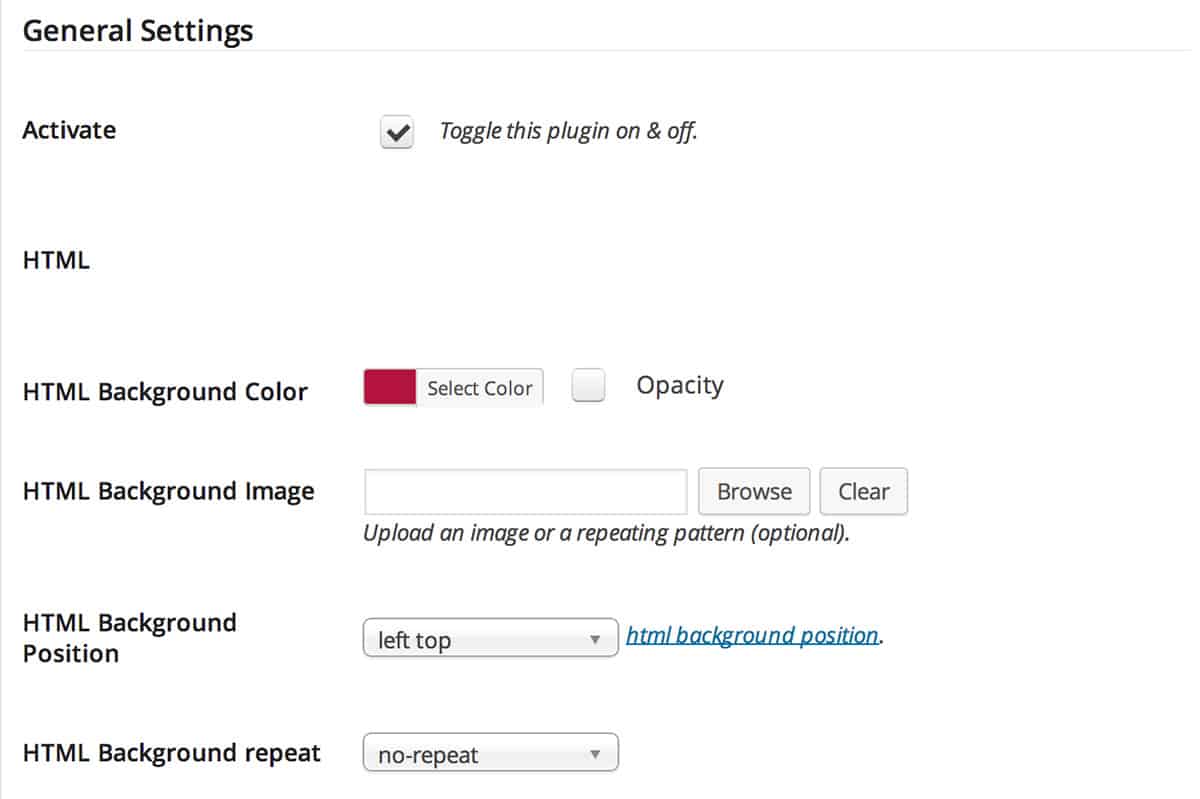
Basic settings to get you started
The Logo section allows you to customize the logo above the login form, which by default is the WordPress logo. You can either choose to hide the logo altogether or upload your own image. After uploading your image, you should again specify the size of your image below this, and choose a position, repeat attribute and background-size property for it. This image will appear above the login form, and should probably be a transparent PNG so that it blends with any background behind it.
The Login Form section has a few similar options. Once again, you can choose to upload your own image and choose position, repeat and size properties, or choose a general background color with the color picker. This background will take effect on the form itself, everything contained within the white box that contains all of the text fields. For this section, you can also choose to add a border radius to the box (rounded corners) and change the color and size or eliminate the box shadow of the login form.
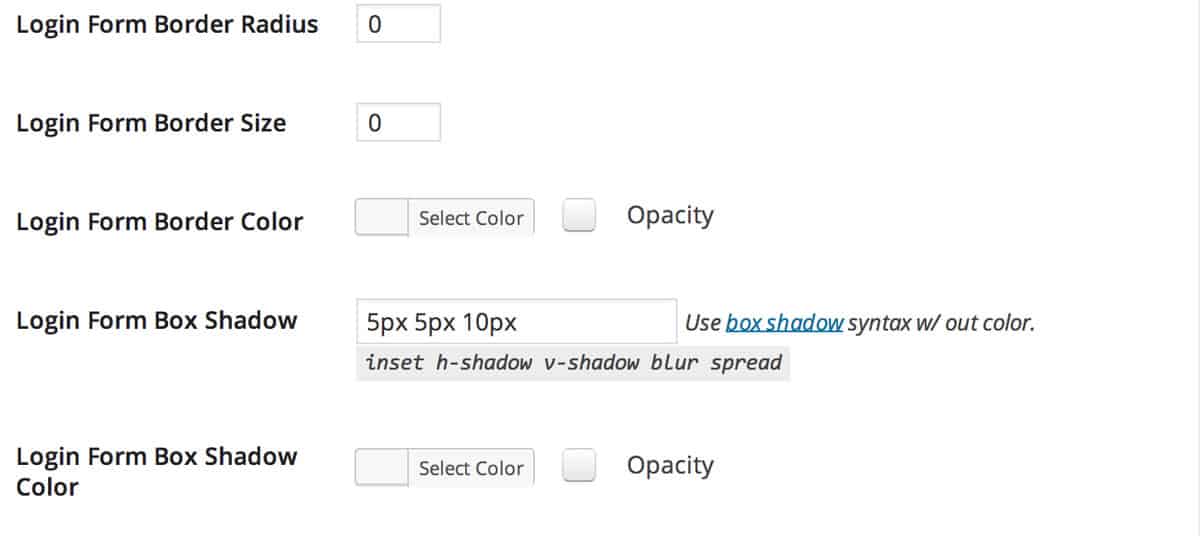
Make quick style changes
The Misc. section has a few more color options for you to choose from, mostly related to the text. You can, for instance, change the color of labels (Username, Password), navigation links below the form, and the hover color of these links. You can also optionally add text shadow to these links.
It is worth noting that next to each color picker is a checkbox for “Opacity”. If you check this box, you can choose from a drop-down of opacity levels for this color, from 1 to 0. This can be done to any color in any of the sections.
At the very bottom of the Settings page, you will also three text boxes for custom CSS, HTML, and jQuery. The custom CSS will be injected into the page and should be used to style things the plugin can’t reach. For a full list of classes and IDs that can be used, you should visit the WordPress Codex. The custom HTML box will be injected into the footer of the page, directly below the navigation links. You can add your own custom information or links here. If you choose to do so, make sure to assign a class to your element so you can style it with the Custom CSS box. Lastly, the custom jQuery will inject Javascript code into your login screen. You can add any valid JS or jQuery code here to add extra bits of functionality to the page.
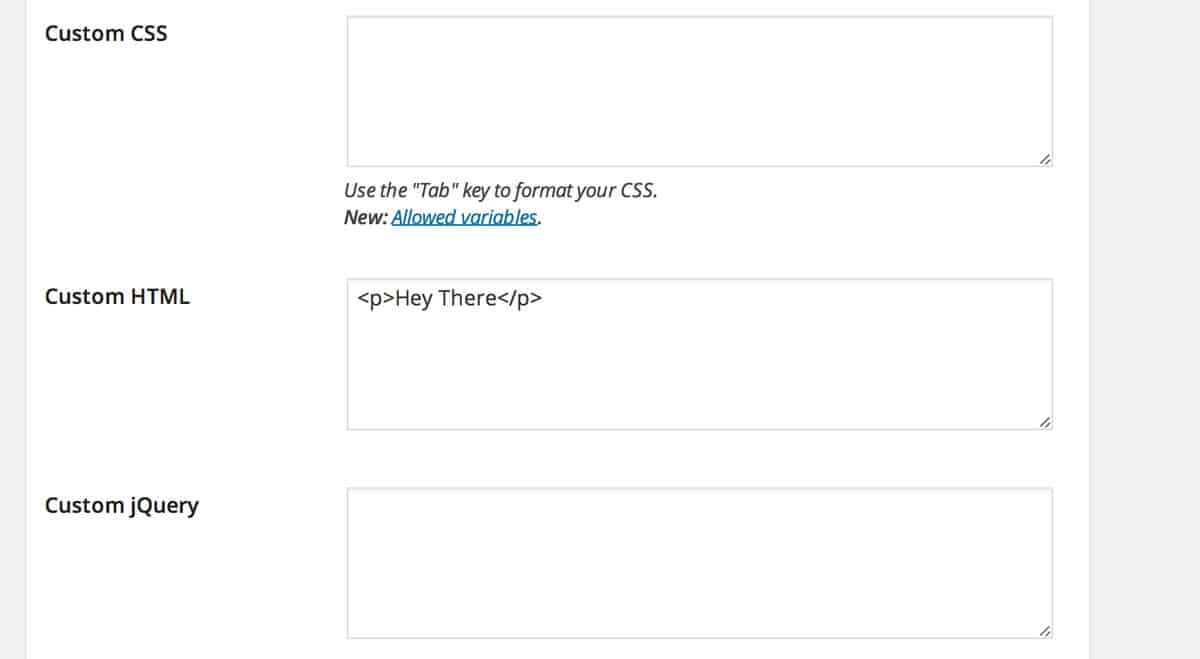
Add in custom styles and scripts
The “Clear Stylesheet Cache” is the last button you will see. You probably won’t need to use this, but click the button if you have made changes but they are not appearing.
When you are all finished, just click the “Save Changes” link and make sure the “Activate” checkbox at the top of the page is checked.
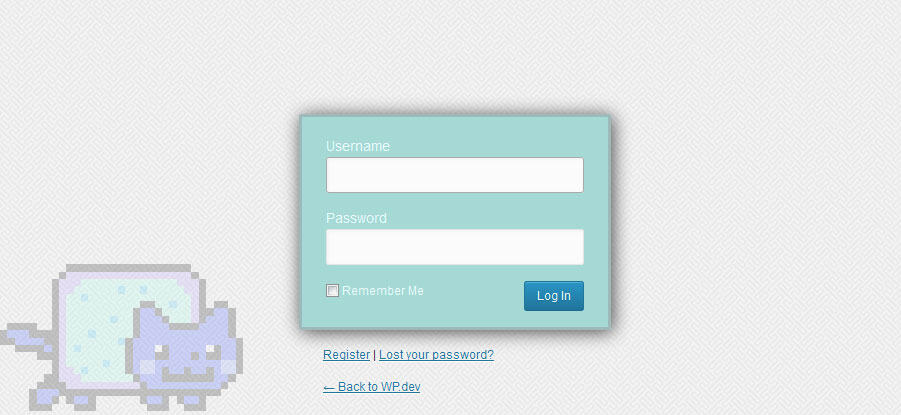
In the end, your login form can look like whatever you want
Costs, Caveats, Etc.
Custom Login is completely free and has had several updates to improve performance and it’s feature set. If you are looking for a bit more functionality, there is a Pro version with a few more features, like the ability to select a pre-coded design or create several different designs, along with a couple of performance tweaks.
If you are having any problems with the plugin, you can visit the support forums to get help straight from the developer.


