If you're looking to set up an intranet, staging site, or an otherwise semi-restricted site,…
For me, passwords can be a real hassle, especially when managing multiple WordPress installs. Many, many installs. I decided to search out a multi-factor authentication service that worked with WordPress. I stumbled upon Clef.
What’s It Do?
Clef is a service which uses your phone to connect your devices log in credentials across several different plugins. This means that rather than connect to your WordPress install with a normal username and password, you can simply sync your phone to your device, and log in and out at will. This, of course, requires you to have your phone with you whenever you log in to WordPress, but if you are in the habit of doing this anyway then it might be right up your alley. The most appealing part of Clef, for me at least, is that you only have to log in once on a device to Clef, and you will have full access to all your WordPress sites, without the need for any passwords.
It might sound a bit complicated, but it’s easier to simply explain by example.
How’s It Work?
The first thing you will have to do is get the Clef app for your phone. You’ll be asked to create an account there, so enter your first name and your email. After that, Clef will send you an email to confirm your email address, which will set the app up. When you’ve done this, click the confirmed button on your phone.
Next, you’ll be prompted to create a four number pin. This will be the pin that you use to access the app on your phone so that you can connect to other devices. After you set up your pin, you will see a bouncing wave on your phone. We’ll come back to this in a bit.
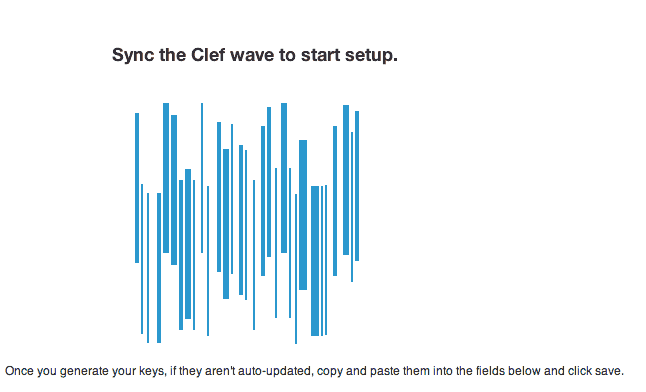
Now you have the install the plugin on your WordPress site. After you have the Clef plugin installed, you will be directed to the settings page. At the top of this page, you will see a wave, similar to the one on your phone. Hold up your phone to your screen, and line up the two waves. This will pair your phone authentication with your WordPress site.

Just match the waves
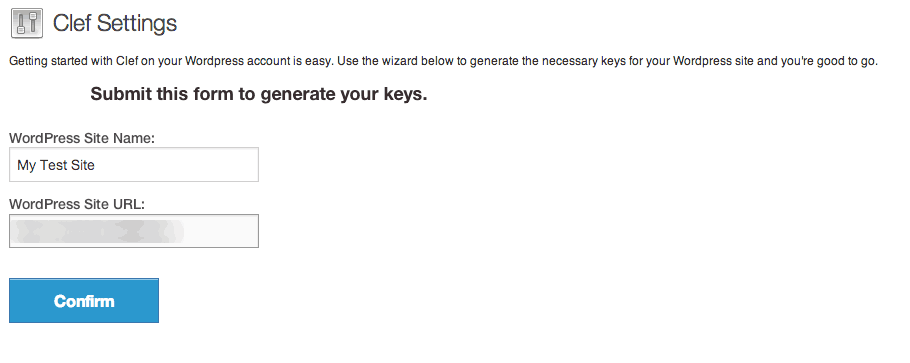
The settings screen will display your site URL and the name of your application (typically the WordPress title). Make sure that these details are correct, and click the “Confirm” button. Application keys will be automatically generated and the app key and secret key text fields on the settings page will be filled out. The only other option you will see is a checkbox to “Disable password login for Clef users.” I wouldn’t check this right away, but as soon as you confirm that the pairing was successful, and you are able to log in, it is highly recommended that you enable this feature. You can also choose to hide the username and password fields completely from the login form here, with access to a secret URL in case you ever want to access the site without your phone handy.
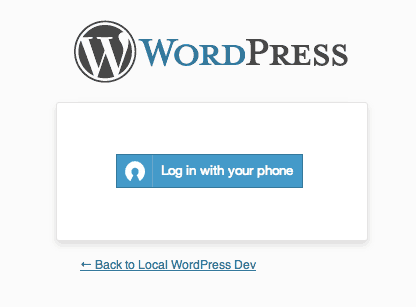
If you log out of your WordPress site, you will see a new option on your login screen, “Login with your phone.” Click on this to use Clef to sign in. If it is your first time logging in, or if you are logging in on a different device you may need to again point your phone at your screen and sync the two wave images. If you are having trouble pairing the two, try logging out on your phone, and then clicking the “Login with your phone” button again. This should reset everything, and you will simply need to line up the wave to pair them.

Once the devices are paired, you will be automatically logged in to WordPress. As long as you are logged into Clef on your phone, you will be able to log in and out of your WordPress site without having to set up any passwords, or set anything else up. Login will happen automatically for your paired device. If you need to login to your site from any other device or location, then you can just select the “Login with your phone” option from the login screen, and point your phone with the Clef app running up at the computer. That’s it, no more passwords, ever again. You can log in using the Clef app from now on.
After you have confirmed that Clef syncs to your WordPress install properly, it is best to go back to the Settings -> Clef and check the box “Disable password login for Clef users.” This will make using your username and password invalid, meaning that nobody will be able to log in to your account without your phone and pin. This is a great step in stopping any security hacks or attacks to your site.

Clef Settings
If you’d like to disable the use of Clef at any time, you can visit Users -> Your Profile and select the “Disconnect Clef account” checkbox. This will re-enable your username and password. Other users to your site can also use Clef if they wish by visiting their profile and enabling the setting from there. If you have any other WordPress installs, you simply need to download the Clef plugin and set it up on the Settings screen to get everything working properly.
Costs, Caveats, Etc.
Clef is a third party service, which is always a bit worrisome when it comes to security, but Clef has a pretty good adoption rate, and there’s a chance that some of your users may be using the technology already. It’s definitely not for everybody, as it requires the use of a smartphone to log in, and is probably only useful for the tech-savvy. But, if you are tired of having to remember a ton of different passwords, then it’s probably the app for you.
Clef is updated pretty often with new bug fixes and easier set-up options. If you are looking for support, it is most likely best to go straight to the Clef website, and scroll through to the end, or go directly to their Support page.
It’s also worth noting that I checked out a few different multi-factor authentication services in my research, and I found Clef to be the easiest to set up. But I’m open to any suggestions for other similar platforms to review.


