Public Post Preview allows you to easily add a public link to posts, pages and…
One of the biggest features of Ghost, when it was first released, was its side by side preview. For some people, this was basically the only draw. In WordPress, you usually have to switch back and forth between preview and edit tabs. PrettyPress gets rid of that and gives you a side by side preview of what content will look like on your actual site.
What’s It Do?
PrettyPress adds a button to the sidebar of your post editor that allows you to launch the PrettyPress editor. This editor is fairly similar to the one you are familiar with, but it only takes up half the screen. The other half is a fully rendered preview of what your site will look like, in a side by side view. As you update content in the editor, you can see those changes happen to live in the preview as you type. And when you’re finished typing, you can save or publish the post right from the editor.
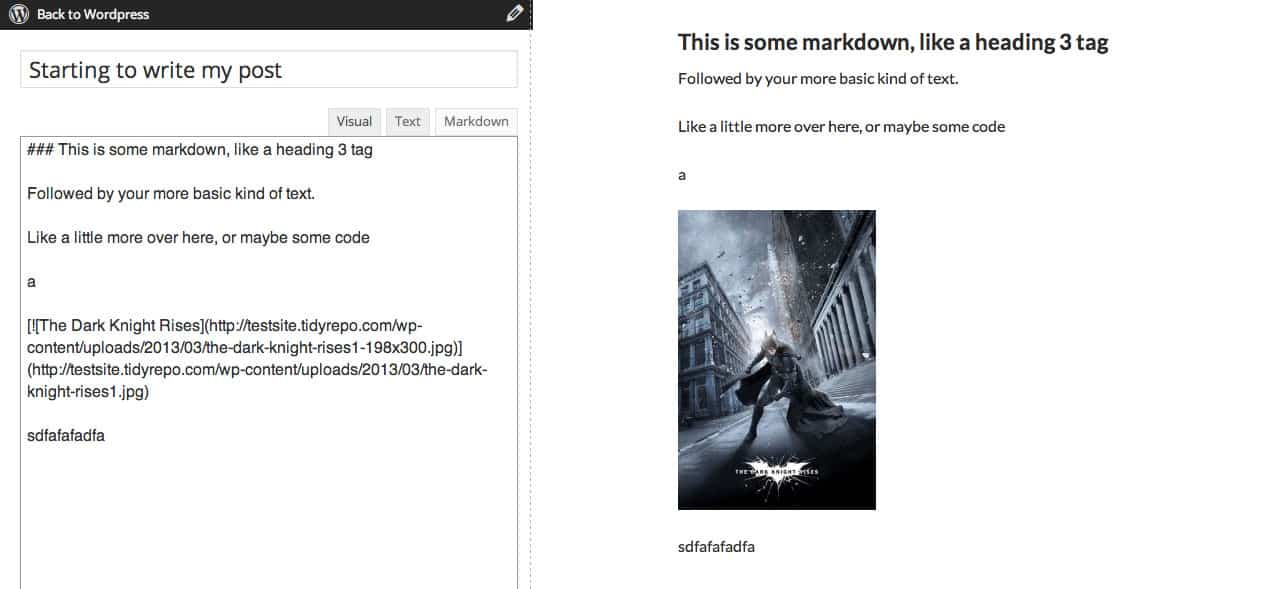
The PrettyPress editor supports the “Visual” and “Text” editor just like the default WordPress editor, but it also adds a third tab for “Markdown.” If you’ve never used Markdown, it’s a writing format that outputs HTML. The PrettyPress editor allows you to use it, and again, see your changes happening live.
How’s It Work?
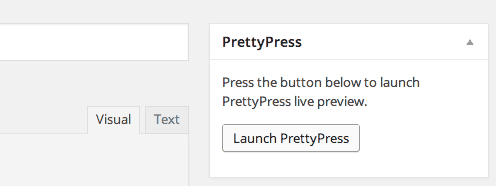
Once you install and activate the plugin, visit the editor of any post or page, or create a new one. You will see a new box on the top of the right sidebar labeled “PrettyPress.” Click the “Launch PrettyPress” button to open up the PrettyPress editor.

Launch the PrettyPress Editor
This will bring you into a new view, a screen split in half. On the left side is your normal WordPress editor, on the right side, a preview of how that content will look on your site. From there, you can continue to update the site like you normally would. The only difference is, as you make your changes, they will update live in the side by side preview. This is true for both the visual and the text editor, and you can do anything you would normally do, such as add images, links, headers, etc.
There will also be the third tab in your editor, the “Markdown” tab. This is one of the more useful features of the plugin. It allows you to write in Markdown, while still being able to switch to the Visual and Text Editor if necessary, which you usually don’t see. If you would rather type your posts in your Markdown, you can use this, otherwise just ignore it. Normal markdown syntax rules apply (# for headers, 4 spaces for code blocks, []() for links).

Example of using markdown
When you are all finished making changes in the PrettyPress editor, you can hover over the pencil icon at the top right of the editor side of the screen. From there, you can choose to “Save” or “Publish” your post. You can also click the “Back to WordPress” button at the top left of the screen to return to the default WordPress editor. Though I wouldn’t recommend doing this too much, you can easily switch back and forth between the PrettyPress editor and default editor, and your changes will be autosaved like normal.
There are not too many options for PrettyPress, but go to Settings -> PrettyPress to access them. In the options panel, you will see two drop-down menus. The first is “Enable the PrettyPress editing screen?” If you chose Disabled, then you will not see the option to launch PrettyPress editor on any of your posts or pages. The second option, “Enable the PrettyPress markdown editor?” can be used to turn off the third “markdown” tab, if you think you won’t be using it. When you are done setting your options, just click the “Save Changes” button.
Costs, Caveats, Etc.
PrettyPress is still pretty new, but it’s already seen a few updates and tweaks. If you are looking for help with this plugin, visit the support forums.


