A pretty simple and useful plugin, Page Template Dashboard lets see you what templates your…
Building a website is hard work. Just ask the devs who do it from scratch, in code. Thankfully through the emergence of visual editors in recent years, this field has opened up to “regular users”. These users can, despite their limited knowledge, create their own sites for their small businesses, sports teams, visually imposing blogs, etc. We could describe the difference like going from MS-DOS to Windows (those from the ’90 will remember this change fondly) in terms of simplifying the user interface and required knowledge to operate it. Oxygen is one such visual editor and a very good one at that.
Version 2.1 > 1.0
Now, there is a chance you’ve already heard of Oxygen. The WordPress plugin has been available for a while in its original 1.0 form – it’s actually still available for install, though it hasn’t been updated in a while. The original is a solid albeit bare-bones version of the new and improved 2.1. The big leap came with the release of version 2.0, which has since also been updated further and, as of writing, sits on mark 2.1. With the new version, Oxygen has even more features and possibilities, while being very user-friendly and easy to use.
Before going further into the details, a couple of important things to note. With Oxygen your pages are all auto responsive and scale based on resolution, so you don’t have to worry about the device your site is viewed on. If you’re not satisfied with the automatic scaling you’ll, of course, have the option to change it as you see fit.
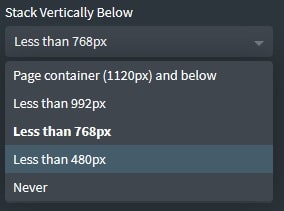
With Oxygen all your pages are auto responsive, just choose your preference
Furthermore, if you like using other editing plugins, chances are you’ll be able to. Oxygen is pretty much compatible with everything you’ll want like form builders, WooCommerce, mail services, etc. If it can be inserted to a page via shortcode, it can be used.
With the general stuff out of the way, it’s time to see what this editor can really do…
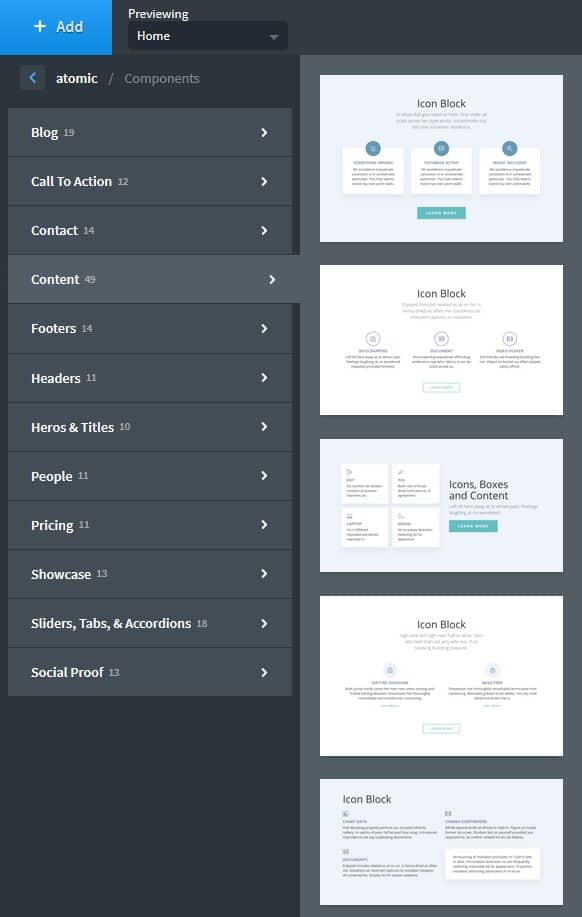
Templates for the win
The templates and their implementation are designed and incorporated into the editor in such a good way, you’ll wonder why more plugins aren’t using this approach. The quickest and easiest way to use Oxygen is to create a solid database of templates which you can then apply to everything you do.
You’ll be able to create templates just for headers and/or footers, templates for pages based on their content and basically every other part of the page you can think of. After you’ve created your base you’ll then be able to insert your templates into pages. This means you can create a base template for the “meat of the page”, add an existing footer template that’s only on the home page, another one for menus that will be applied on every page and a footer that contains author information, but only for pages that have author content.
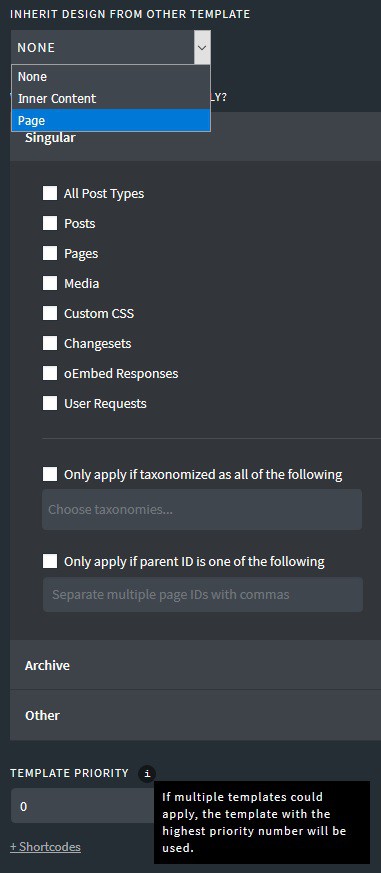
Choose how your templates work within your site
We haven’t encountered this kind of approach to page building in other visual editors, and although it does maybe seem a bit too much when you’re reading it, we can guarantee it is really easy to get used to. Actually, all you need to get the most of it is the “pre-work” that goes into building the templates you’ll use most of the time. After that, it’s just a game of mix-and-match with whatever is best used in a given situation.
Of course, you can add all of this manually every time you’re making a page, but that would be defeating the purpose of the most useful and unique thing Oxygen has to offer.
Working from the front end – adding and editing elements
Here, just like with every other visual editor, you’ll be working from the “front end” perspective. This means that all the changes you make will be done in real time and you’ll instantly see how it would look for your users.
Most of this work is done using the sidebar where all the elements are located. They are divided into a couple of categories that will help you sort them out for usage.
Most of the editing you’ll be doing will go through the sidebar
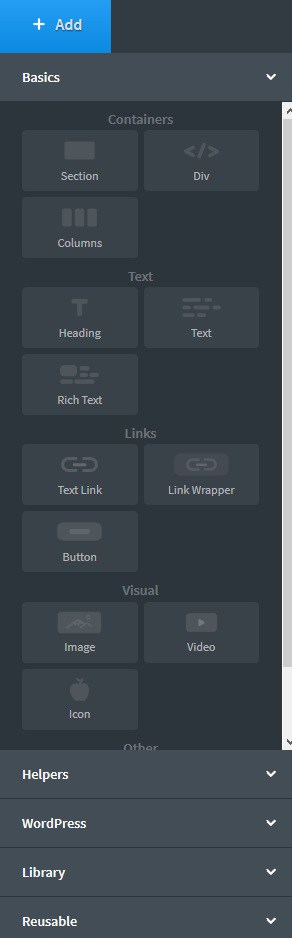
- Basic – used for adding basic elements to your pages like text boxes, columns, images, etc. This is the basis for your pages and something you can’t do without. Most of the time this is where most of your content on the site will come from.
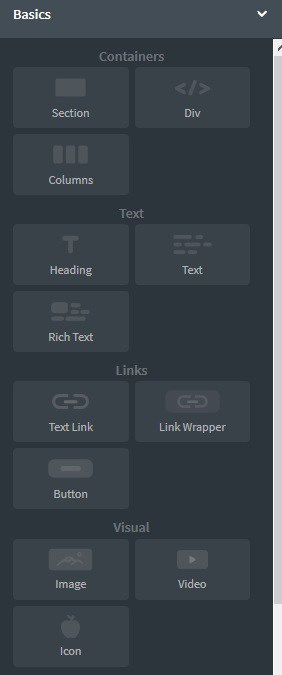
Sidebar with the basic elements
- Helpers – used for adding interactive and/or dynamic elements to your pages such as Google Maps, social media icons, etc. This tab gives you a chance to provide your user to interact with you.
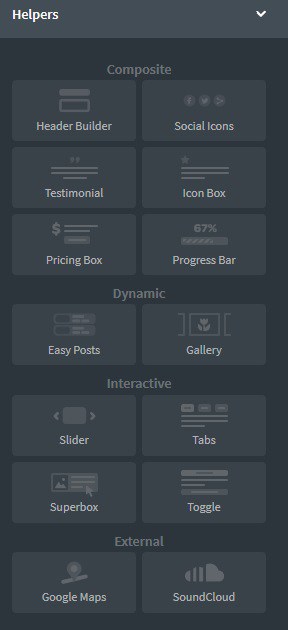
Sidebar with the interactive elements
- WordPress – used for adding additional elements from WordPress that you designed to go with your pages like menus, shortcodes, widgets, and so on. On display here is the excellent integration Oxygen has with WordPress in general as well as other plugins that can be used to complement the editor which we’ve already mentioned. This provides multiple additional customization options if you get into it.
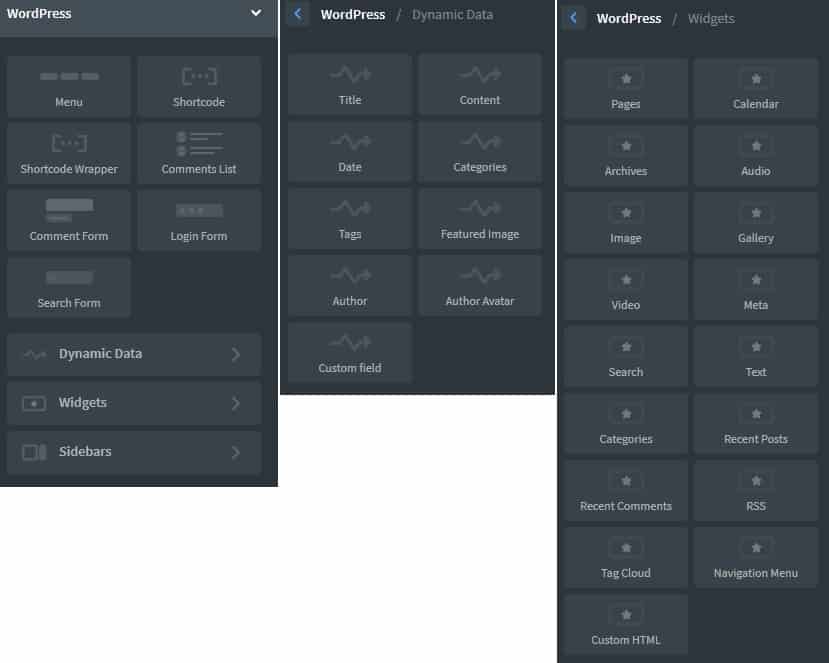
Sidebar with WordPress elements
- Library – provides you with a plethora of premade items that can be added to your pages. These are sorted into a number of categories and each category has a decent number of different designs according to the theme you’ve previously picked.
Choose elements from the extensive pre-made database
- Reusable – choose from some elements you’ve made reusable by editing them on previous pages. A delicious alternative if you’re not using templates that much, but still have parts you want to be the same on numerous pages. There’s no need to edit the elements every time – one click and the customized item is inserted.
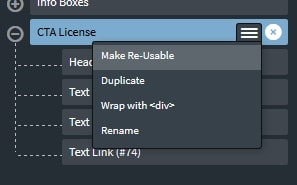
Make edited elements available for further use with one click
When adding elements, they’re automatically inserted in the spot where your cursor was last time on the page. Additional editing can be done after they’re embedded. The position and size can be changed directly on the page with the mouse and on the sidebar which opens up editing options when you select them on the page.
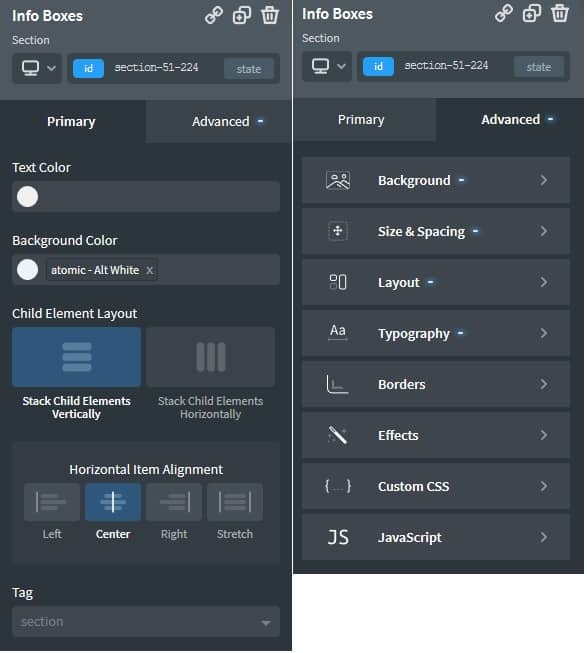
Edit your elements in any way you can think of
The editing options are divided into primary and advance. The primary options have to do with the already mention layout, alignment, size color, etc. The advanced options, as the name suggest require a bit more knowledge about text and picture editing as well as page building in WordPress in general to be used to their full extent. You’ll be offered all the options from the primary tab but to much more detail and also additional editing options with CSS and JavaScript. If you’re well versed in using these the customization options are practically endless.
One other thing that is definitely worth pointing out is the menu integration where you create menus in WordPress the way you would without the visual editor. That menu is then available to pick while editing your page and is automatically converted to the chosen theme. This proved to be an effortless way to insert your menus, an action that can be overly and unnecessarily complicated in some other editors.
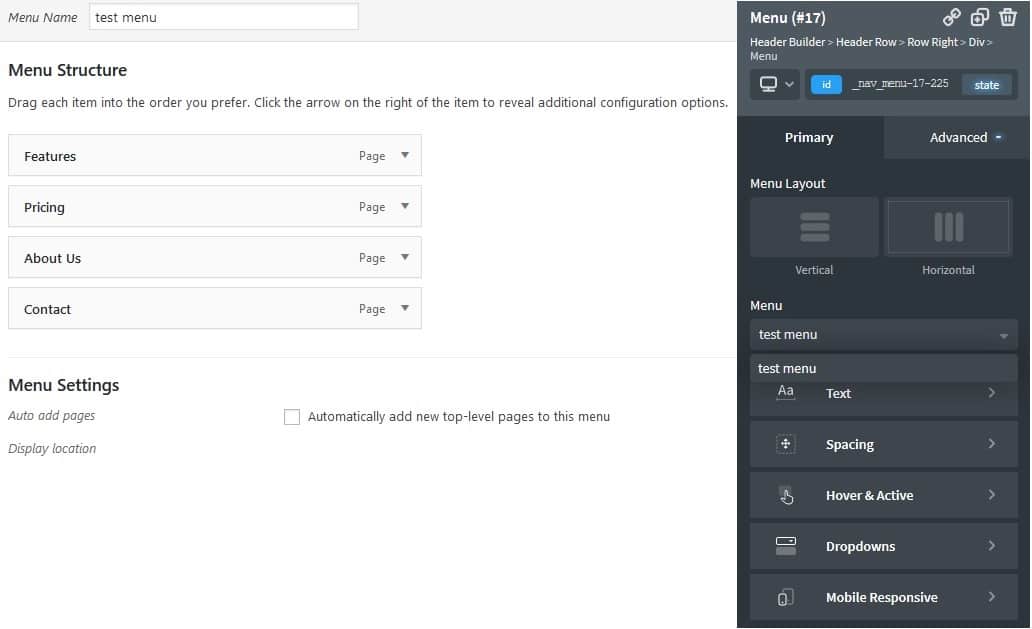
Insert your custom menus to the page simpler than ever before
Page structure – one more sidebar
Moving from left to right we get to the other sidebar you’ll be using, granted, not much as the one that adds elements, but an important one just the same. The structure sidebar will be your go-to source for page orientation. Namely here is where you’ll find a list of the elements you’ve added to the page sorted in the order they’re presented on the page top to bottom.

Keep track of your elements structure at all times
Upon expanding the element you’ll get a neat view of everything that makes up the element. While expanding the element its editor is automatically opened on the left sidebar and if you choose any of the content that the element consists of an editor will open for them too.
This approach will save you time because you don’t have to search for editing tools through menus or windows – just click on the thing you want to change and all options are available to you.
One and done – payment
If you’re still on the fence about switching to Oxygen as your primary visual editor, maybe the price tag will persuade you. As of writing everything mentioned so far can be yours for a one-time payment of $99,00. It’s listed as a promo price, so we can’t be sure it’s going to stick, so be sure to act quickly.
But that’s not all, as they say, the mentioned price includes lifetime updates and support, and you’re able to use Oxygen on an unlimited number of sites. Not only that but you’ll also get a 60-day money back guarantee, so if you’re unsatisfied in any way it won’t cost you a thing. If you’re still hesitant to pay anything, be sure to check out the demo version where you get access to all the features without paying a cent.
Summing up
In conclusion, it’s hard not to recommend Oxygen to anybody looking for a visual editor to use. It’s simple and easy to use for beginners, but at the same time provides enough options to those who know what they’re doing. It has great integration with all your other favorite plugins, so you’ll still be able to use all of them (outside other visual editors) without much additional tweaking.
Not much more to say really, if you give it a go, our guess is you’ll get hooked and use it for a long time.