Better Text Widget adds a small improvement to text widgets in WordPress. It adds a…
If you think that you have all the plugins that you will ever need on your blog or website, then you are wrong! There are so many plugins out there that one must wonder if they can fit all of them on their site.
Keep on reading about this plugin. You are up for a treat!
What is this Awesome Weather Widget?
Awesome Weather is a Widget created by Hal Gatewood, and it does what you expect it to do – it shows the weather! Well, it doesn’t show you just the weather, but it also shows you the humidity, the way the wind blows, how fast it blows, and the temperature.
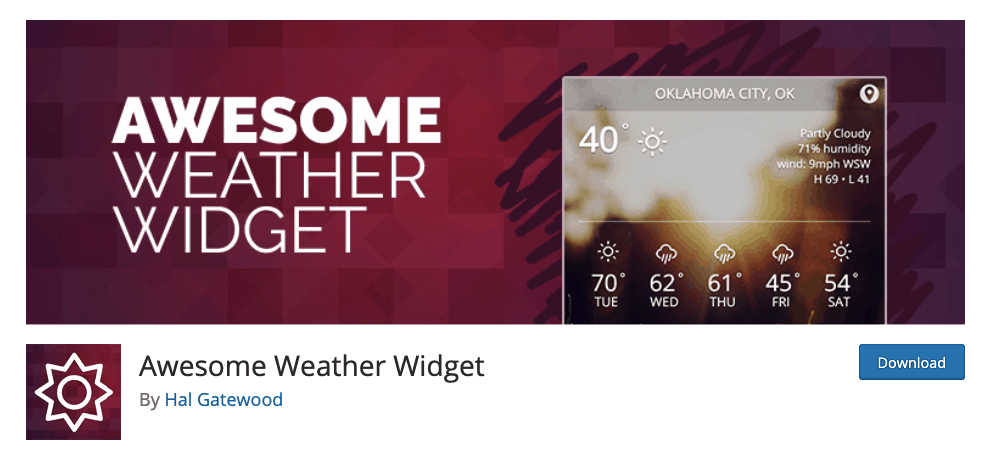
It is a slick and simple design that you can change up to your needs (change the background color), and you can also keep only certain aspects of the plugin to be shown. So, let’s say that you want to show only the humidity of a certain town and not all of the other things, well you can do just that!
Depending on your site or blog, you could change things up a little and have multiple widgets on the site, each with its own unique look and feel. So, you could have multiple locations from all around the world, each represented with its own background picture.
Additionally, you can make use of the forecast that allows you to show the upcoming weather up to as many days as you want as long as you have the space on the site to show them all.
What are the Features of the Awesome Weather Widget?
If you are familiar with WordPress, then you already know how to install a plugin. Just a little heads up, you must be upgraded to WordPress’s business plan in order to have the feature of installing plugins enabled, so make sure you do that first. Now that that is out of the way let’s get deeper into the matters!
First things first, you have to install the plugin, and then it will be added to your list of available widgets. Then simply click and drag it to the sidebar where you want this widget to call home. If you did it correctly, a whole bunch of additional options are now available for you to change up and customize for your needs.
The first thing you will see is the template. This basically allows you to choose the size, and let’s say the design of the widget. If you’re feeling like none of these sizes are the right thing for you, you can just simply click on the custom bar, and then you will be greeted with additional options.
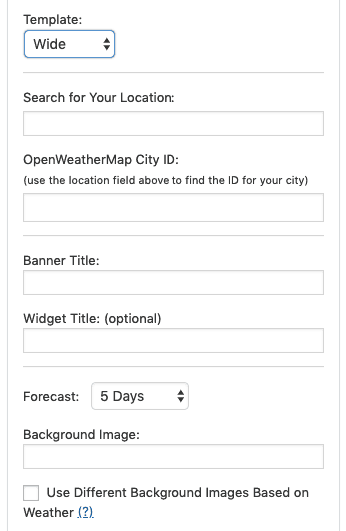
Then you have to choose the city where you want it to gather data from (the weather). It is simply quite frankly. All you got to do is type the name of the city, and a city ID will appear to bellow it, after which you choose the correct city you want, and that’s about it.
Then you can add or remove the forecast ability. It depends if you want it or not. Just be careful not to put too many days, but put the number of days depending on the size of the widget!
Up next is the background. As I have already stated, you can choose an image or a color. Images are great and allow you to make some very neat looking widgets, or you could just simply pick a color, and that’s it. The color is chosen by typing the hex value or the RGB value of the color that you want.
And last, but not least are the Misc. Settings. Here are some of the other settings that I have been talking about. Here you can choose the unit of measuring the temperature (Celsius or Fahrenheit), the ability to show the users weather by locating the users’ IP.
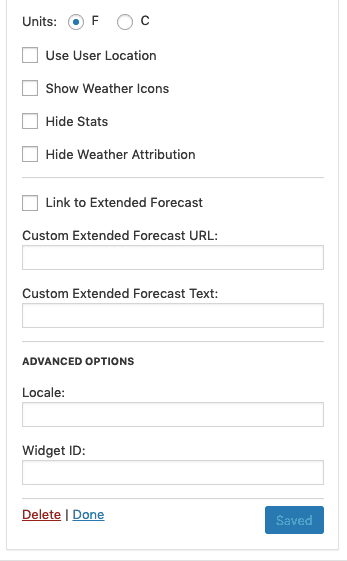
You can also add or remove certain features of the widget if you so wish, things like adding or removing the showing of the humidity and wind speed. At the very bottom, you should see the ability to link the weather provider for that certain forecast (it gives your users a sense of professionalism, and it gives credit to the weather forecast provider).
Costs, Caveats, etc.
There are none! The only thing you could pay for is the ability to have additional features (this is in regard to OpenWeather).
As I have already stated, if you are in need of such a plugin that allows your users to see the weather in certain places, then Awesome Weather Widget is the way to go. You might find it a bit complex at times to use, but don’t let that deter you from using it because the more complex a plugin is – the more features it has, and the more it is customizable.
Be patient and go to the creator’s page to find in-depth details and steps on how to properly set up and use this plugin.
I personally love how you can add and remove features and how you can customize each widget with its own special picture and/or color. And unlike a tornado, this review does not have a twist in the end!

