
A pretty simple and useful plugin, Page Template Dashboard lets see you what templates your…
There are lots of great membership plugins out there, but few that make the registration process in WordPress streamlined and easy. But Profile Builder does.
What’s it Do?
Profile Builder makes it easy for users to sign up on your site, log in, and edit their profile, all from the front-end. It doesn’t have hundreds of bells and whistles (though there is a premium version with extended functionality) but focuses on making it really easy for you to add WordPress’ existing membership options to the front-end of your site. The plugin gives you access to a few shortcodes and widgets so that you can add your registration form, login form, and edit profile page anywhere on your site, with customizations for each step.
How’s it Work?
After you install and activate the plugin, you should start by setting it all up. First, if you wish to open up registration to anybody, and take advantage of Profile Builder’s features, you’ll want to visit Settings -> General in the admin. Next to the section “Membership”, check the box labeled “Anyone can register”. This will turn on registration for your site. But normally, users would have to visit your back-end in order to register or login to WordPress. But Profile Builder lets you put this anywhere.
Visit Profile Builder -> General Settings and you will see a few global options for the plugin. First, you can choose whether or not to load in CSS, which I recommend that you do. Next, you can choose whether or not to turn Email Confirmation on. If you choose yes, then users will receive an email when they register on your site. Before their account goes live, they will need to follow a link in their email to verify it. Otherwise, an account will be created for them immediately. You can also choose whether or not users should be able to login in with just an email, or if they need a username too, and customize the password strength.
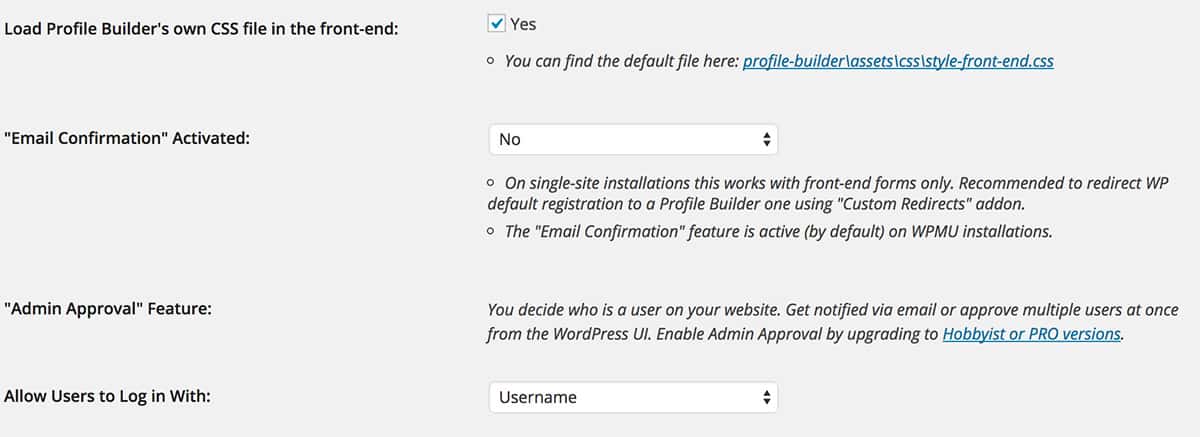
Some global settings
If you go to Profile Builder -> Admin Bar Settings you will see a list of user roles that are registered on your WordPress install. For each, you can choose whether or not to enable the admin bar that shows at the top of every front-end page when a user is logged in. You can switch this on, off or use the default behavior.
Visiting Profile Builder -> Manage Fields will bring you to a drag and drop interface where you can customize the contents of your registration form. By default, you will see a list of common fields in the WordPress user profile, like name, biographical info, Contact Info, etc. For each, you can click the “Edit” button to customize the label, description and default value for the field. You can also choose whether or not each field is required. If you want to take the size of your form down a bit, you can also click the “Delete” link to remove it from the registration process entirely. If you remove a field from this section, it will also be removed from the “Edit Profile” page, which we’ll talk about below.
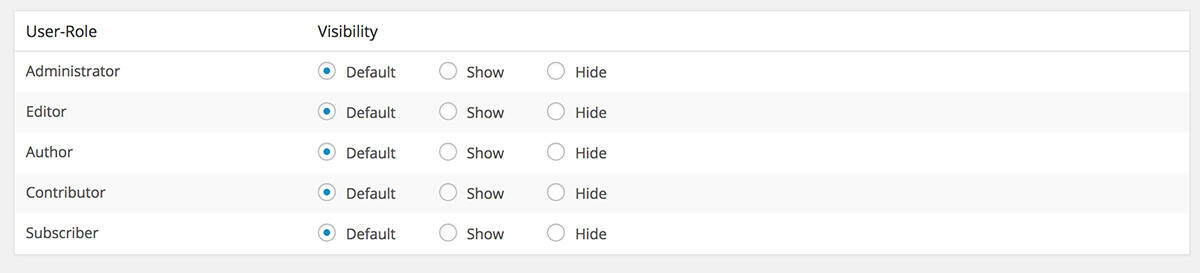
Set up custom admin toolbar permissions
Once you’ve set up the plugin, you need to actually add the forms to your site. First up is registration, which uses the [wppb-register] shortcode. Create a page titled “Registration” or something similar, and add this shortcode. This will output a user registration form anyone can access. By default, users will be registered at the “subscriber” role, but you can change this by adding a role parameter to the shortcode.
[wppb-register role="contributor"]
Next up, you can create a page called “Edit Profile”. Here, you can add the [wppb-edit-profile] shortcode. This page’s content can only be accessed by registered users. When they visit the page, they will be able to edit any of the fields that were entered in the registration or change their password. It keeps the form very simple, and you can link to this page however you want.
The last step is to add a login form. You can do this in one of two ways. The first is to add the [wppb-login] shortcode to any post or page or use the do_shortcode() function to add it to your template files. If you want to add a recover password form, you can use the [wppb-recover-password] shortcode where users can enter their username or email and change their password.
Alternatively, the plugin comes bundled with a widget which you can access by going to Appearance -> Widgets and drag the “Profile Builder Login Widget” to a sidebar on your site where you keep recent articles or maybe a Google map. If you choose to use the widget, you can also define what page on your site users will be redirected to when they log in by including a URL in the text field. When a user logs out, they will simply remain on the page they are currently on. You can also add links to your recover password page or registration page, and these will be included below the login form.
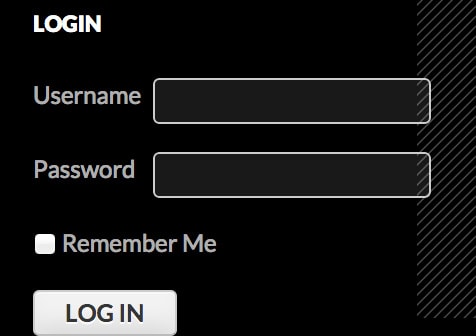
The login widget
Basically, Profile Builder gives you an all-in-one solution for managing profiles, registration and user settings with just a few options and shortcodes.
Costs, Caveats, Etc.
Profile Builder is a free plugin, but there is a premium version available which has a lot more features, including custom profile fields, user listing shortcode, multiple user registration forms, custom redirects, and a few more features. The plugin is well maintained and well supported. If you are having a problem with it, you can visit the support forums to get help from the developers.