One of the more annoying pain points of WordPress development is keeping local, staging and…
In the past, I reviewed WP Migrate DB Pro, which in my opinion is the best premium option for those looking to keep two (or more) WordPress databases always in sync. But sometimes you just want to do a raw dump, move your files and database all at once, to a new location. Duplicator is a great free choice for that.
What’s It Do?
Duplicator creates a package of your site, anywhere it is installed, with a record of your MySQL database and a Zip file containing all of your uploads, including and primarily images. It gives you two files to download, an installer.php file and a zip file. Upload these files anywhere via FTP (or on your localhost), run the installer script, and the plugin will automatically install WordPress, duplicate your database, and upload all of the files. What you’ll be left with is an exact duplicate of your old site, working perfectly on a new server.
Unlike a plugin like WP Migrate DB Pro, Duplicator does not keep two databases in sync. In order to keep two locations in sync you will have to repeat the process manually. Not exactly a limitation depending on what you’re looking for, but something to keep in mind.
How’s It Work?
After the plugin is installed and activate on the WordPress install you would like to clone, visit Duplicator -> Packages. You won’t have any packages created yet, but in the future, this is where they will be archived. Click the “Create New” tab.
The Duplicator Package will include all of the required files for making a clone of your site. It is divided into two sections, the “Installer” and the “Archive.” Click on “Archive” to see the options for this section. You will see two tabs, files and database. Chances are you can leave these two blank, but this is where you can specify any files that you don’t want to include in your package. This might include uploads you don’t think are necessary or are too large. Check the “Enable Filters” box and enter in either the full path to your file, or specific file extensions that you want to block. In the database section, the options are similar, but instead will list out all of the relevant database tables. Simply check off any database tables you don’t want to include (which again, will probably be none).
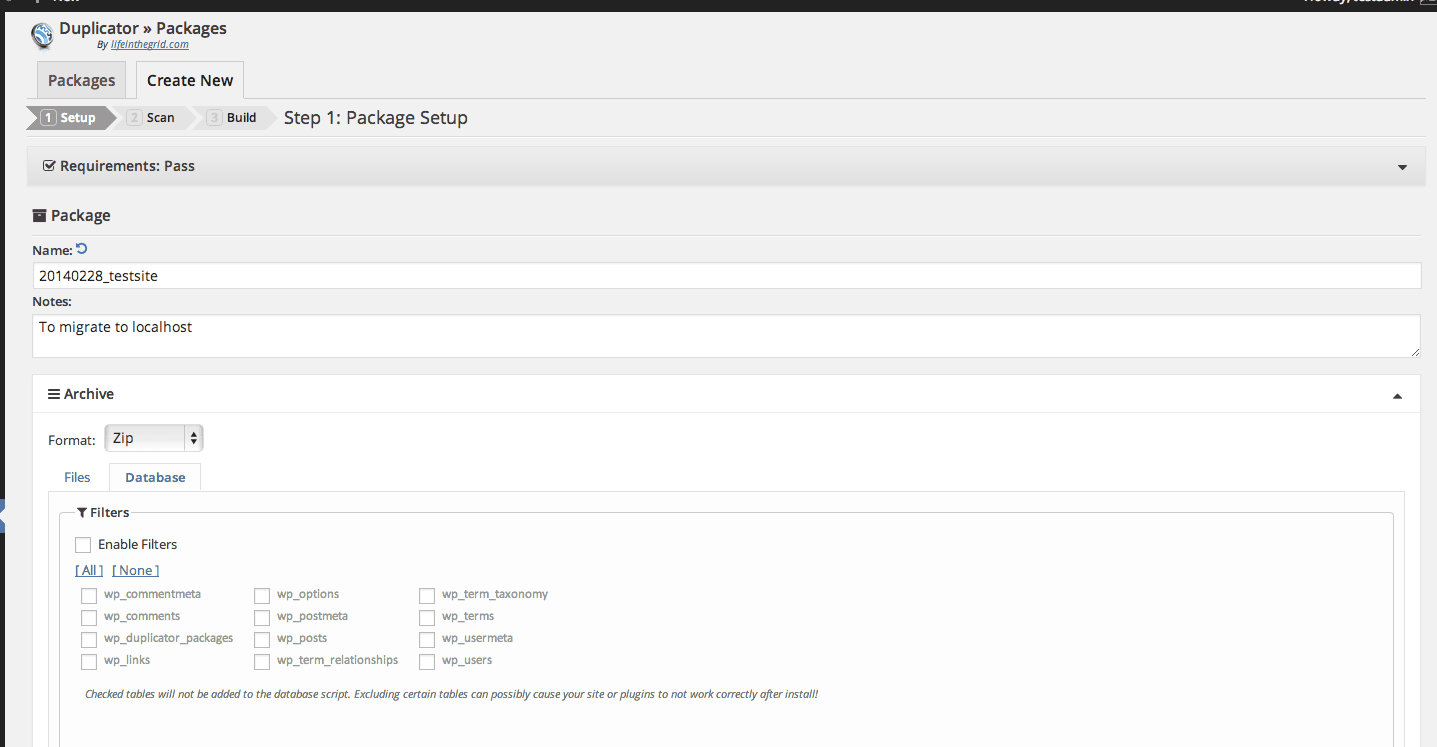
Archive options for your package
The “Installer” section allows you to pre-fill in the details of the site that you want to migrate too. You can type in the database host, name and username of your new site and the URL (http://www.newsite.com). If you don’t quite know this yet, don’t worry, you’ll have an opportunity to fill these out later. When you’re all finished click the “Next” button.
The next part of the process will scan your site for any potential errors. This may take a couple of minutes, and at the end you’ll be given a list of various pieces of information on your site and whether there are any red flags. You may find that you have a few errors, and you can always run the “Diagnostics” button to try to narrow it down. In my experience, investigate the errors to see how serious they are. I’ve been able to duplicate sites just fine with a few errors, though I’m sure more then a couple will be a serious problem. If you are satisfied with your error report, click “Build”.
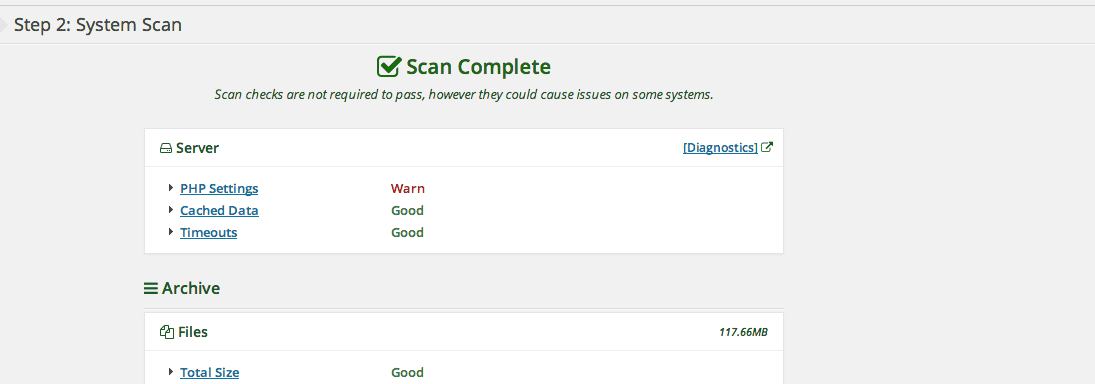
A system scan with a few warnings may be okay
The plugin will now put together your package. This again may take a couple of minutes, but don’t exit out of the screen. Once the process is finished you’ll be asked to download two files, the “Installer” file, which is just a simple PHP file, and the Archive which is a larger zip file. Download these both to your local machine.
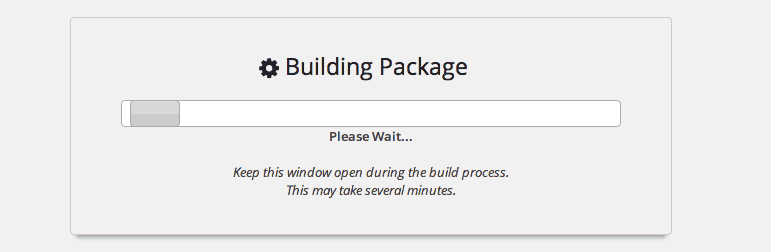
Duplicator build process
Now it’s time to switch over to the location you want to duplicate your site to. FTP into the server of the site you want to create your clone in, and upload the “installer.php” file and the zip file with your archive in it. Don’t worry about uploading anything else, like WordPress core files, these will be installed automatically for you. Once you have uploaded these files, visit “http://yournewlocation.com/installer.php” in your browser (remember to swap out yournewlocation with the actual URL of your site). This will bring up the Installer settings page.
First, you’ll have to enter in your new site’s database details. Enter in the name of your host, your database, and your username and password. There are also some advanced options for connecting for developers out there, but you most likely won’t need to touch these. At the top, you can chose to either “Create New” or “Remove Old Tables” from the database. The plugin can install a brand new database, but if you already have one set-up that you would like to replace you can chose “Remove Old Tables.” Just remember that this will completely erase the database, and the process is irreversible. Enter in your DB details and click “Run Deployment”.
The install script will import WordPress, your site’s database, and your old site’s files. But it won’t be working just yet, you’ll have to run the “Update” step. Here, the information will be pre-filled out for you, but just review it to make sure everything looks right. Basically, you will have to enter in details about your old site and your new site, such as URL name and title. You can also create a new admin account if you want to change the name of these, by entering in a new username and password. If you want to keep the admin username and password from your old site, leave this blank.
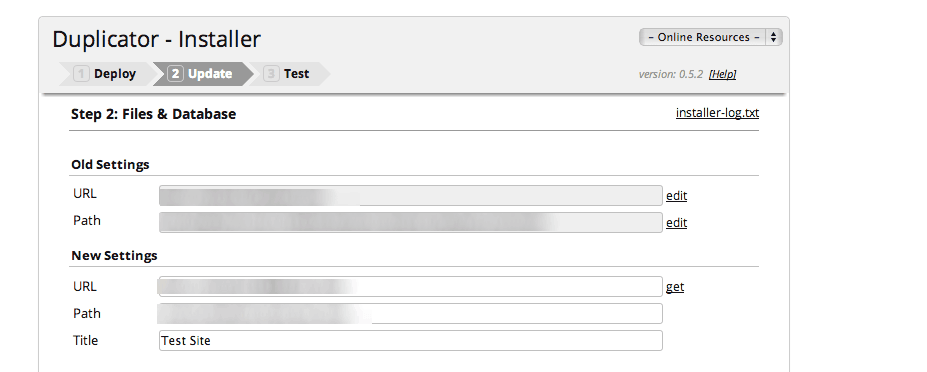
The Updater step should have everything filled out for you
In the “Advanced Options” section of this page, you can also chose which plugins should be active upon install. By default, the plugins that were active on your old site will be activated automatically, but you can switch these on and off by highlighting them. Review your settings, then click “Update.”
And that’s it, you’ll be all set. There will be a few things the plugin will direct you to do manually, such as set-up your permalinks. When you are all finished and you’ve tested the site works, you can to Duplicator -> Tools on your brand new, cloned site, and click on the “Cleanup” tab to get rid of the installer and archive files permanently. Check your site to make sure everything works, and just like that you’ll have a clone of your WordPress site anywhere.
Costs, Caveats, Etc.
Duplicator is free, and updated fairly often with bug fixes and more use cases. The developers have set up a knowledgebase if you are having trouble with something. If you can’t find your answer there, visit the support forums for more help.